Jekyll is the best static website generator out there. You get to write your blog posts and pages in Markdown. As you develop your theme, Jekyll watches for changes in templates and files. Each time a file is saved, Jekyll regenerates a static version of your site.When combined with GitHub Pages for hosting, you get the benefit of templates, loops, and variables with none of the headache associated with server management, databases, or permissions. And if that wasn’t enticing enough, enough you can kiss your hosting bill goodbye! GitHub Pages lets you host for free.
Jekyll’s setup instructions are straightforward enough, but there are several other steps that you’ll need to take before you’re ready to develop and share your website. This tutorial will walk you through the process start to finish on macOS.
- Create a New GitHub Repository
- Clone the Repository to Your Machine
- Update Ruby
- Install Jekyll
- Create Your Site
- Push to GitHub
- Publish on GitHub Pages
- Get to Know Your Config File
- Advanced Tips (optional)
If you’re familiar with version control on the command line, feel free to initialize a new repository, add a GitHub remote, “gitignore” the .DS_Store files, and push to the master branch. Then skip ahead to Step 3. If none of that made sense… Steps 1 & 2 are for you!
1. Create a New GitHub Repository
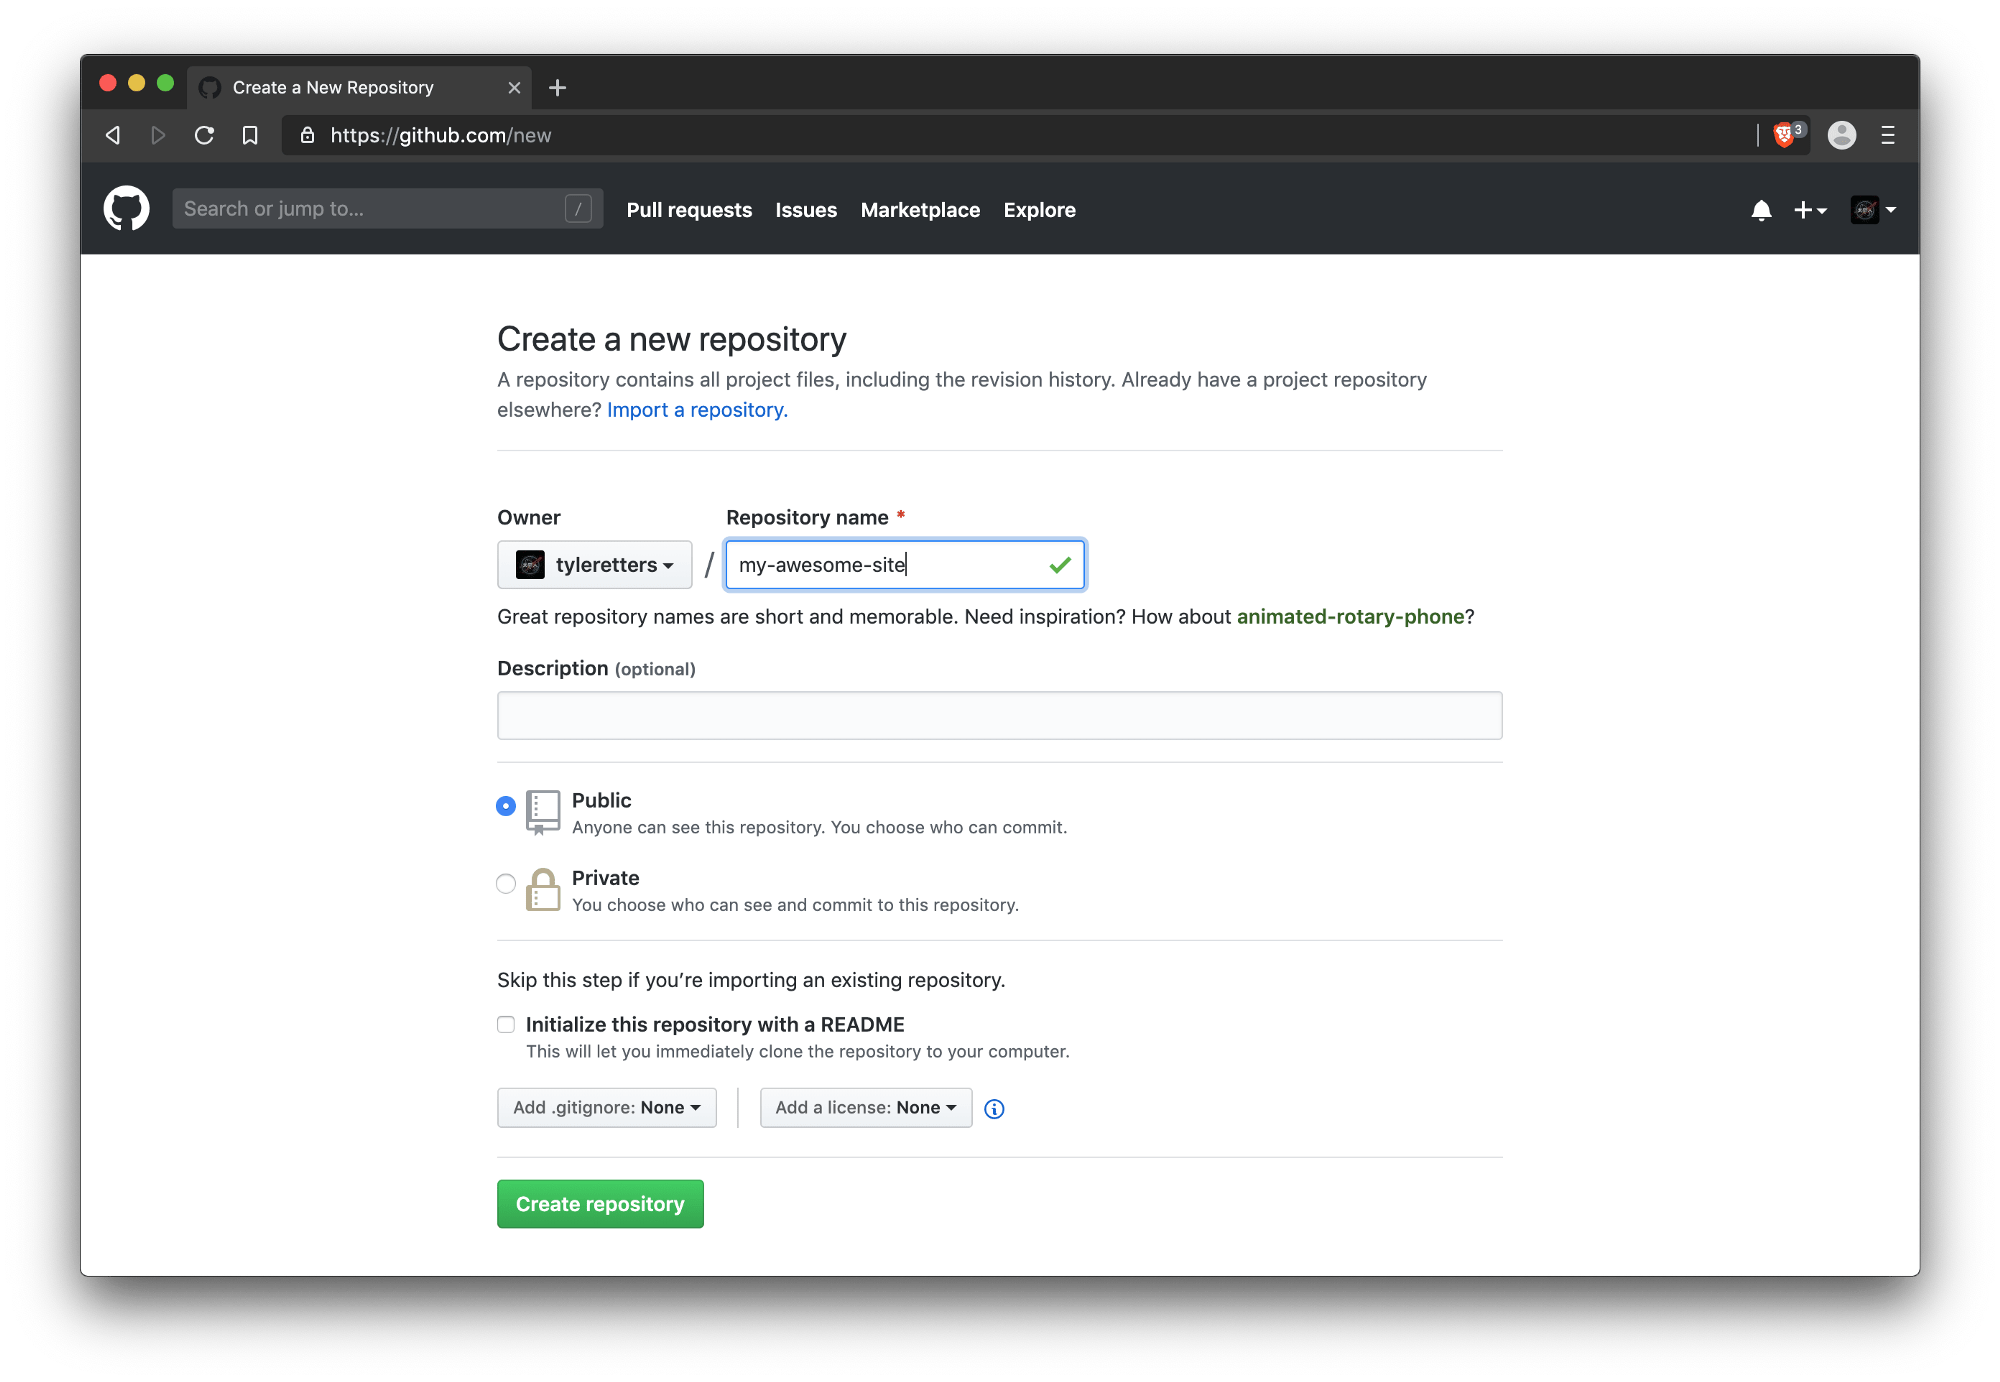
If you don’t have a GitHub account, create one. Then make a new repository. A repository is place where you store code, can track changes, and collaborate with others.
I named my repository my-awesome-site.
Do not initialize with a README. If you do, you’ll have to temporarily delete the file in a later step.
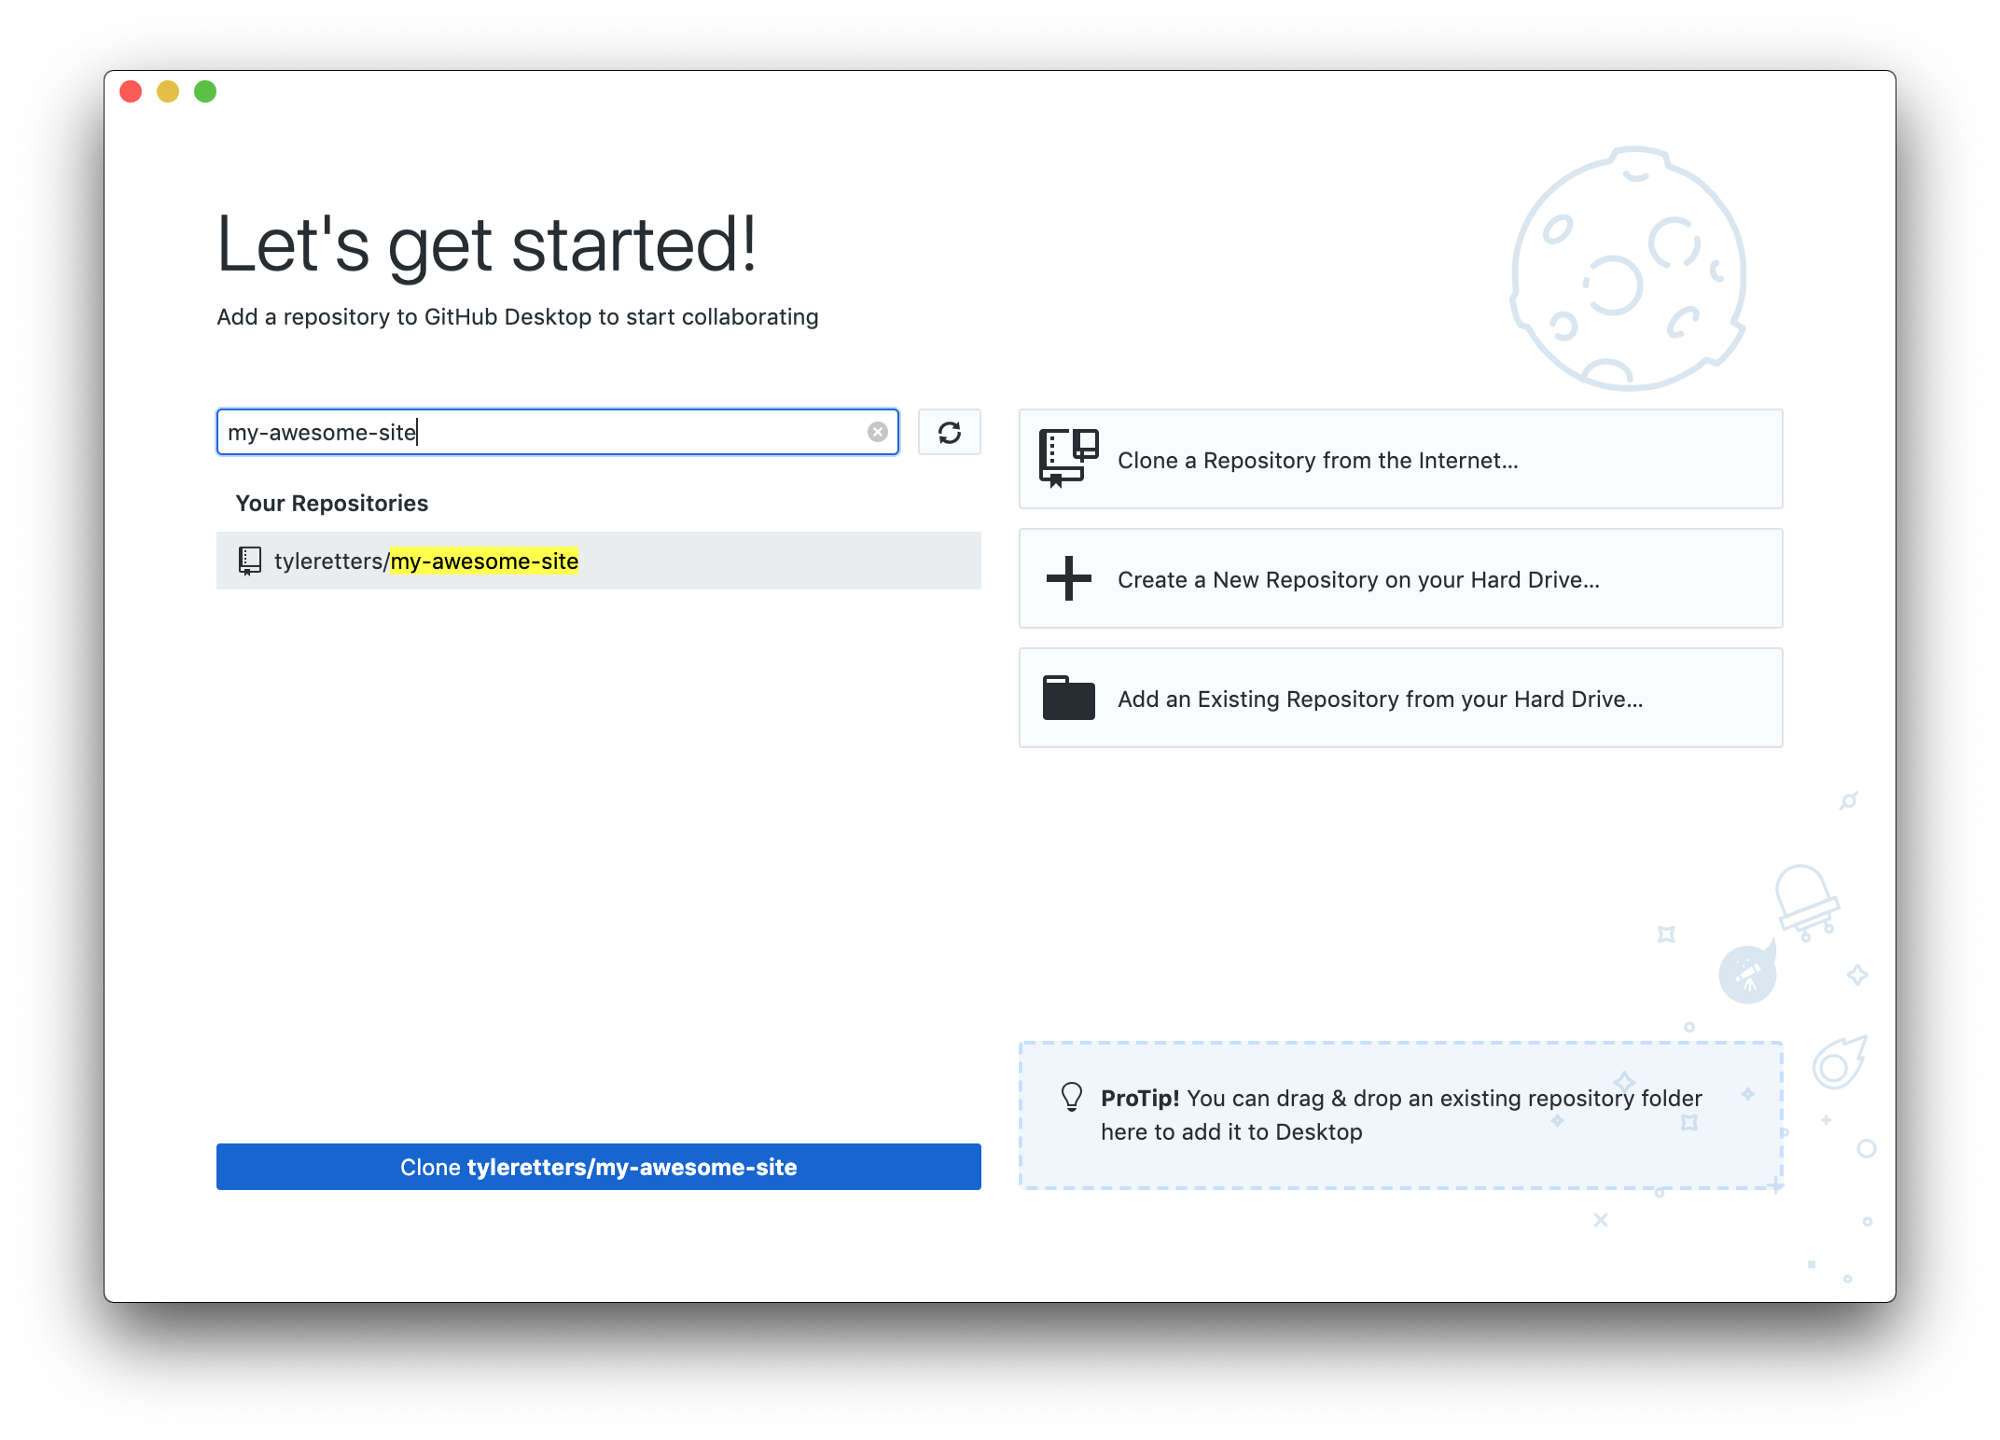
Next up, download and install the GitHub desktop client. Once logged in, filter your repositories and find my-awesome-site.
Click the Clone button.
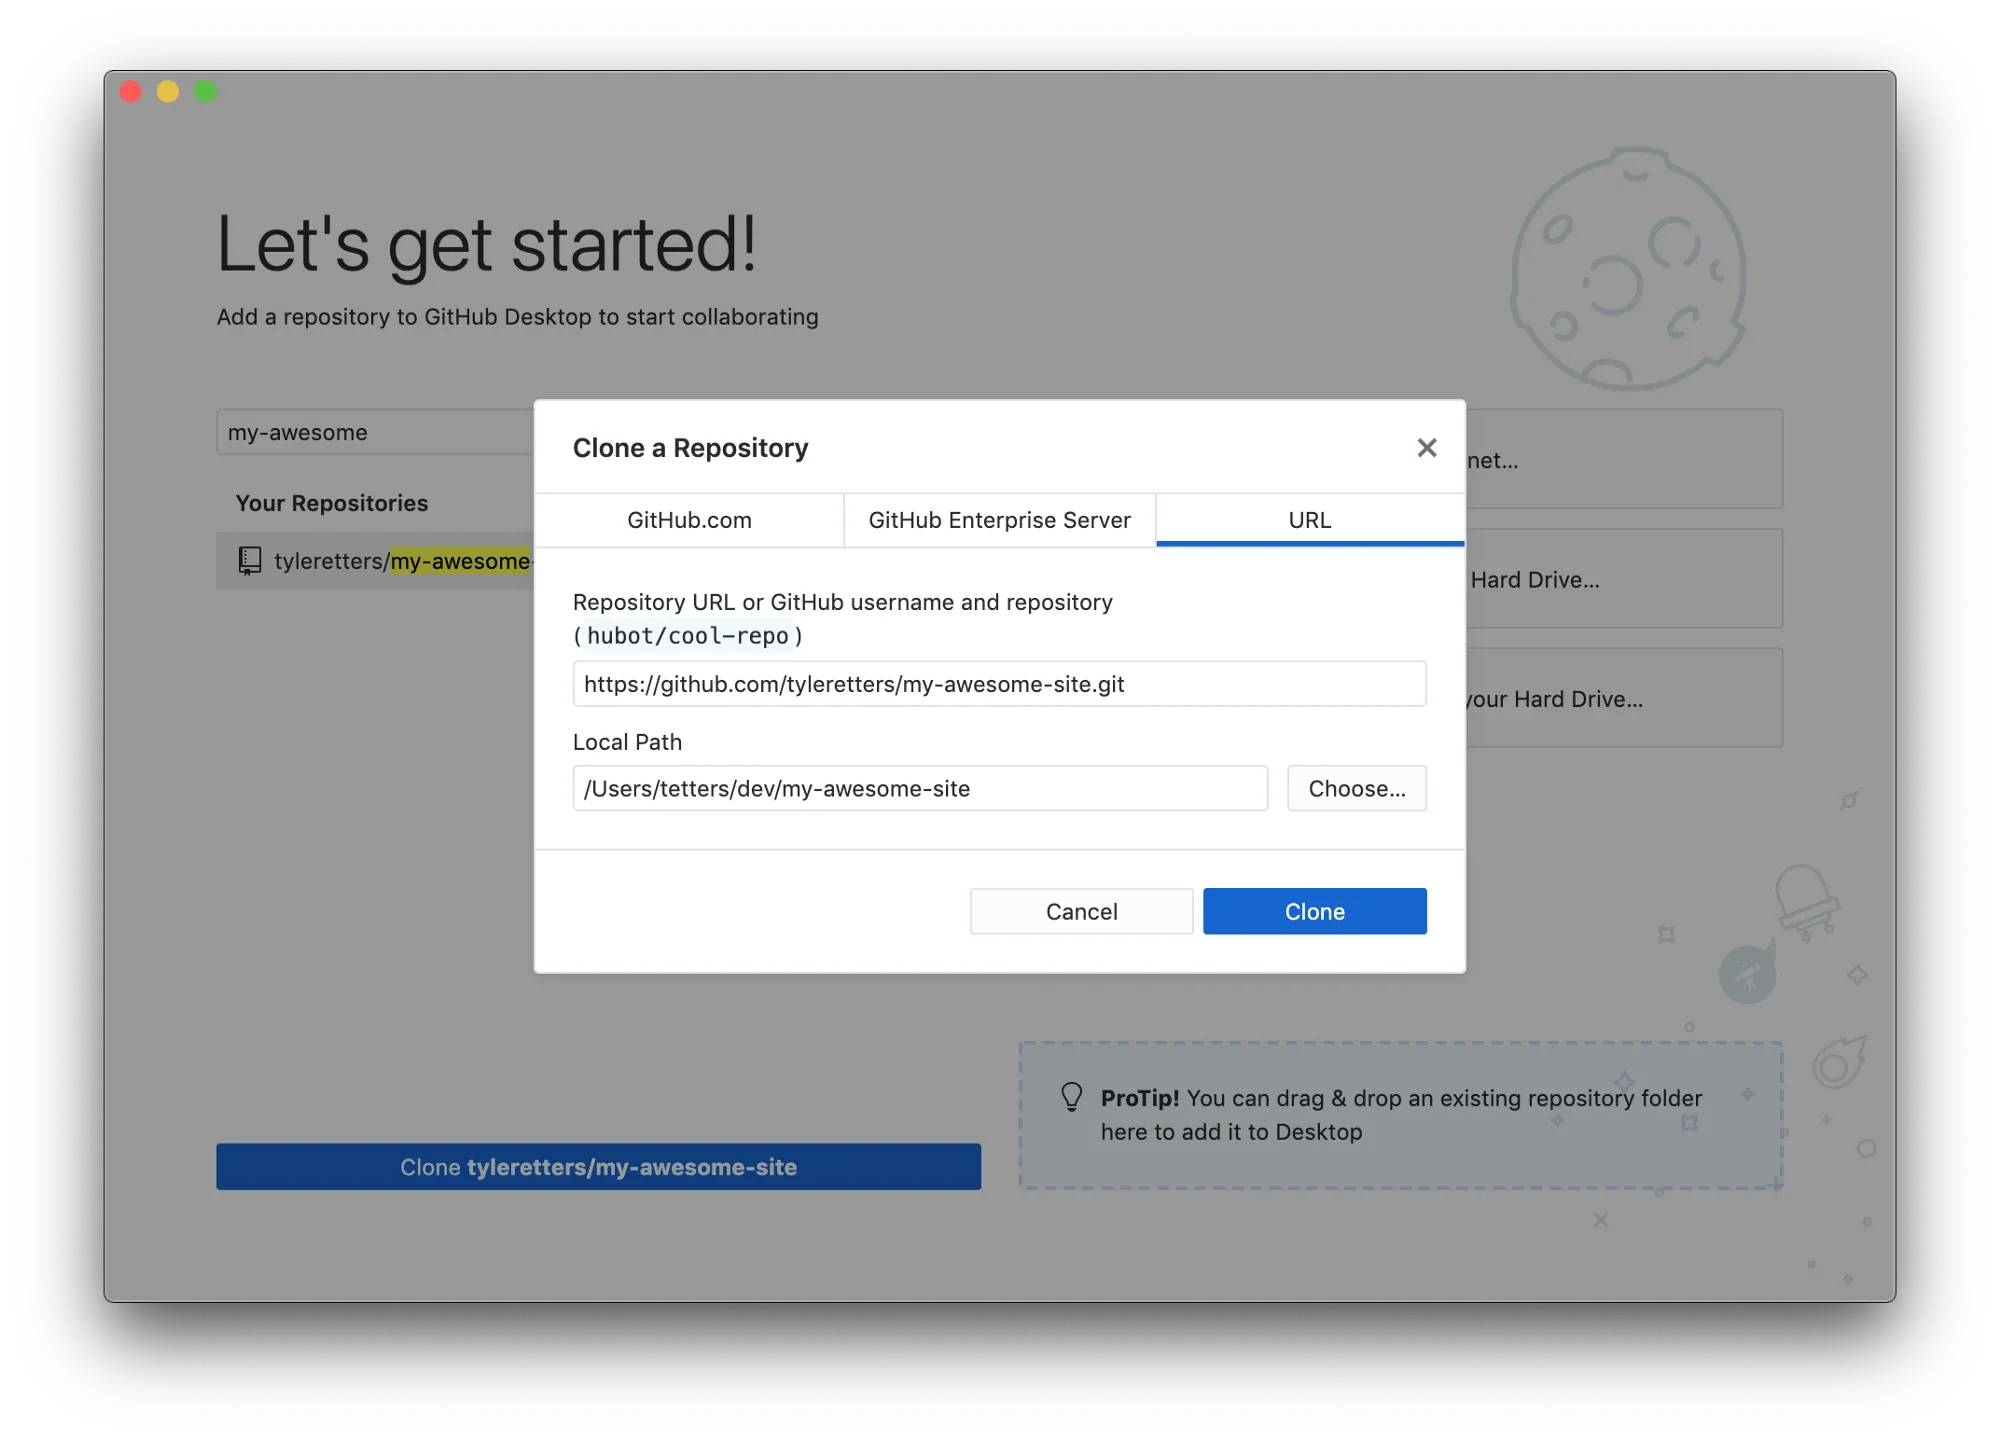
Do you have a directory you typically store your development projects in? Personally, I use ~/dev but I’ve seen folks use anything from ~/Sites to ~/Documents. The only thing that really matters is that it is somewhere comfortable for you. Go ahead and click the “Choose…” button to select a location.
At this point you’ll want to create a .gitignore file to tell git which files and directories to not track.
Open up your favorite text editor and create a file called .gitignore in the repository directory (along with all your other Jekyll files). Paste this line into that file and save:
.DS_Store is a housekeeping file macOS uses and has nothing to do with development. It is customary to omit these files from your version control.
Back in your GitHub desktop client you can now commit changes and publish the branch to GitHub.
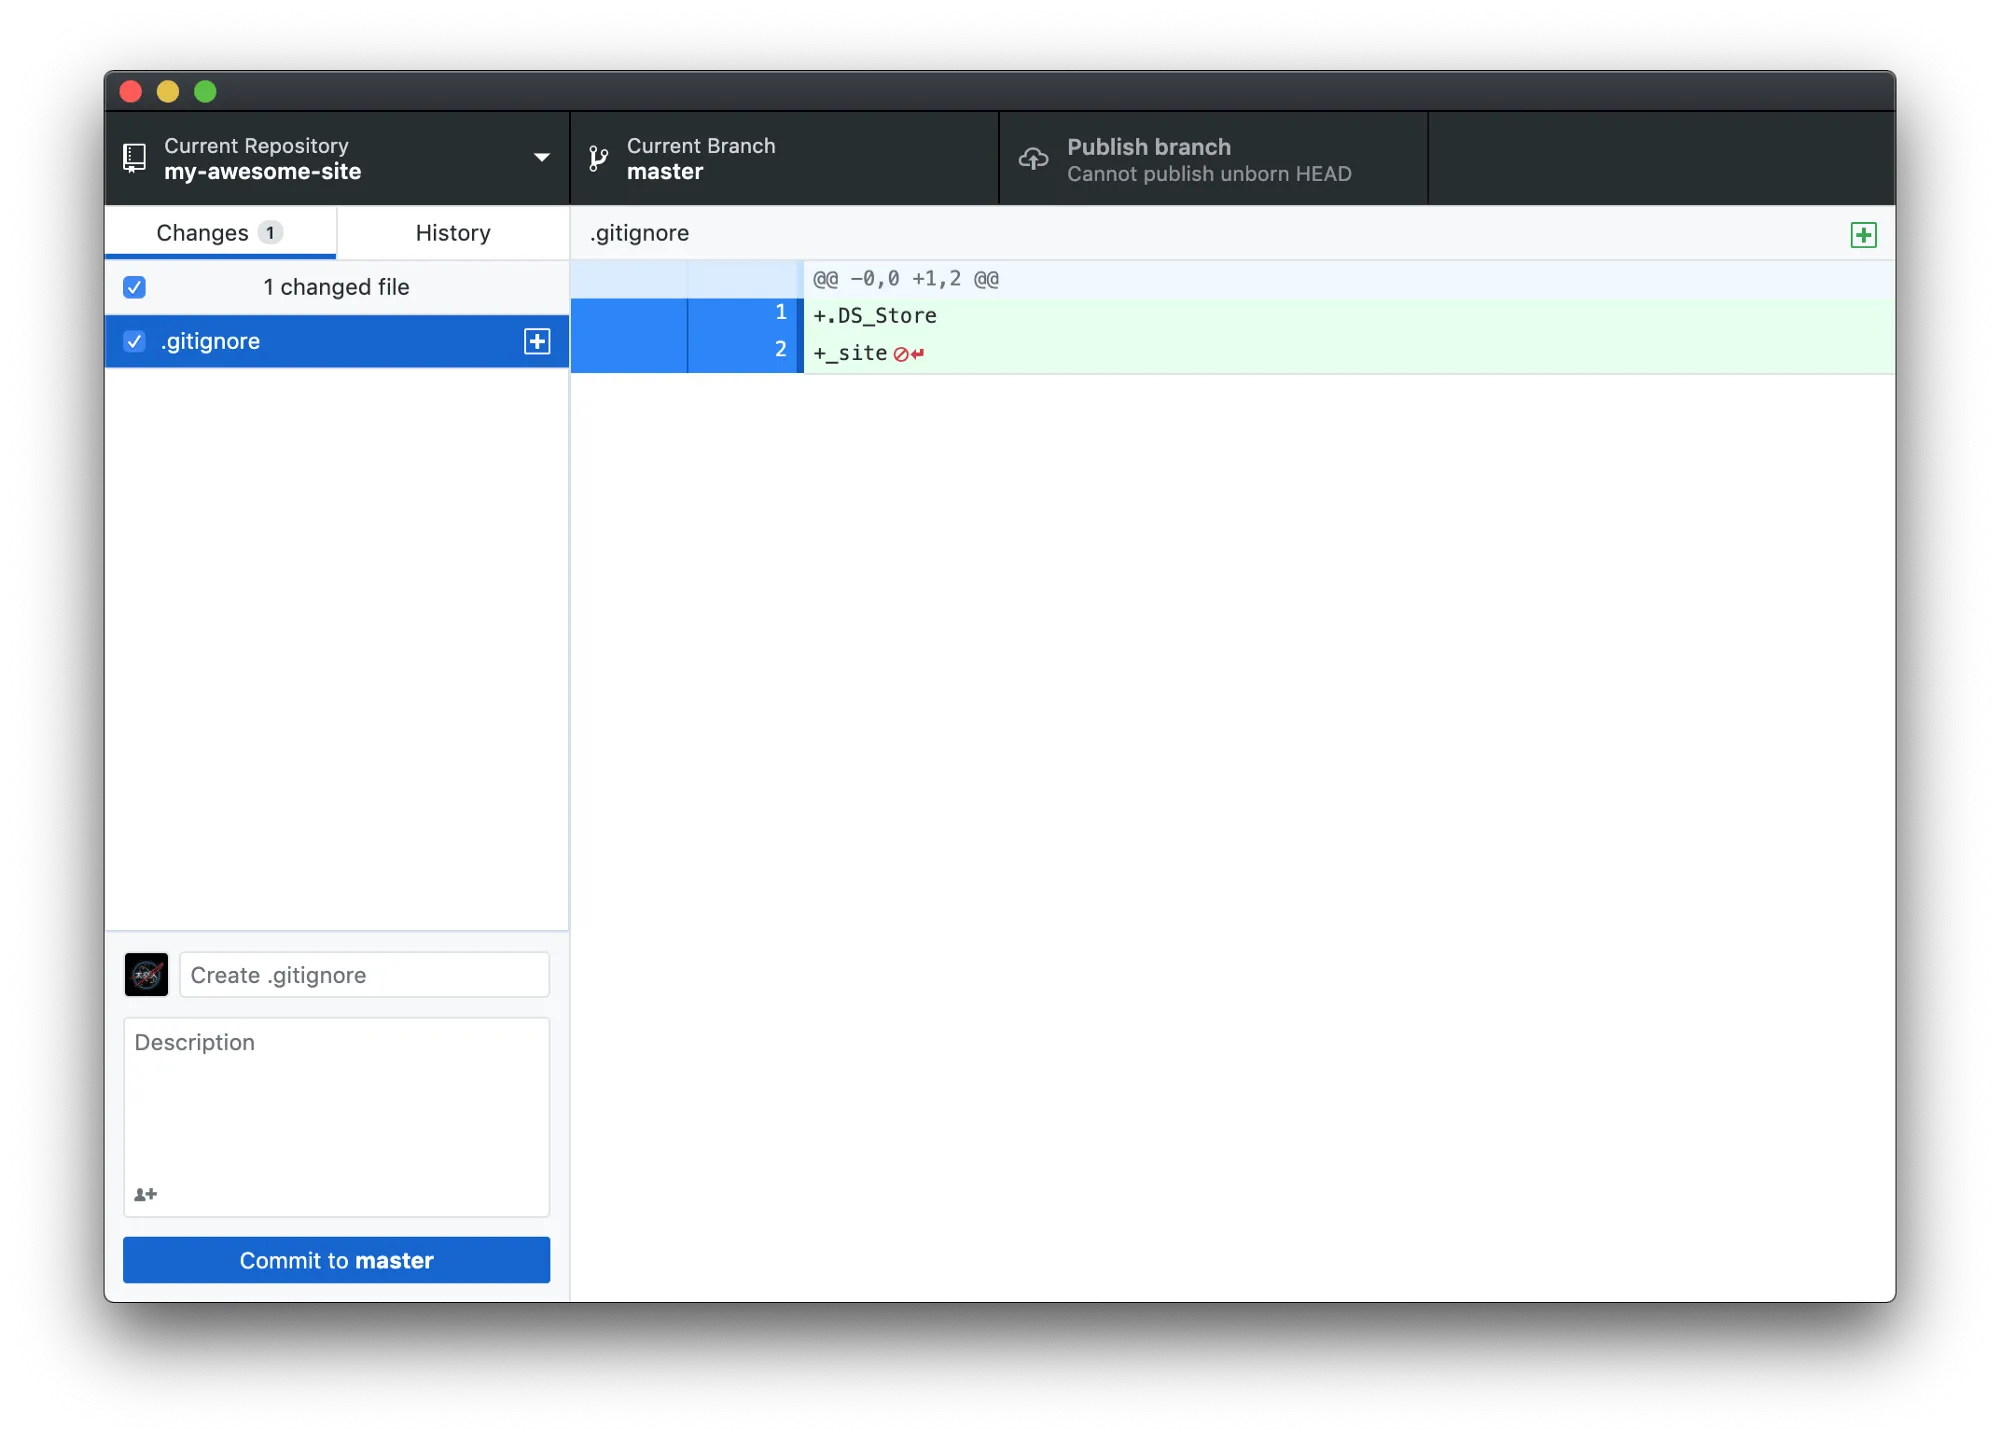
Click “Commit to master”...
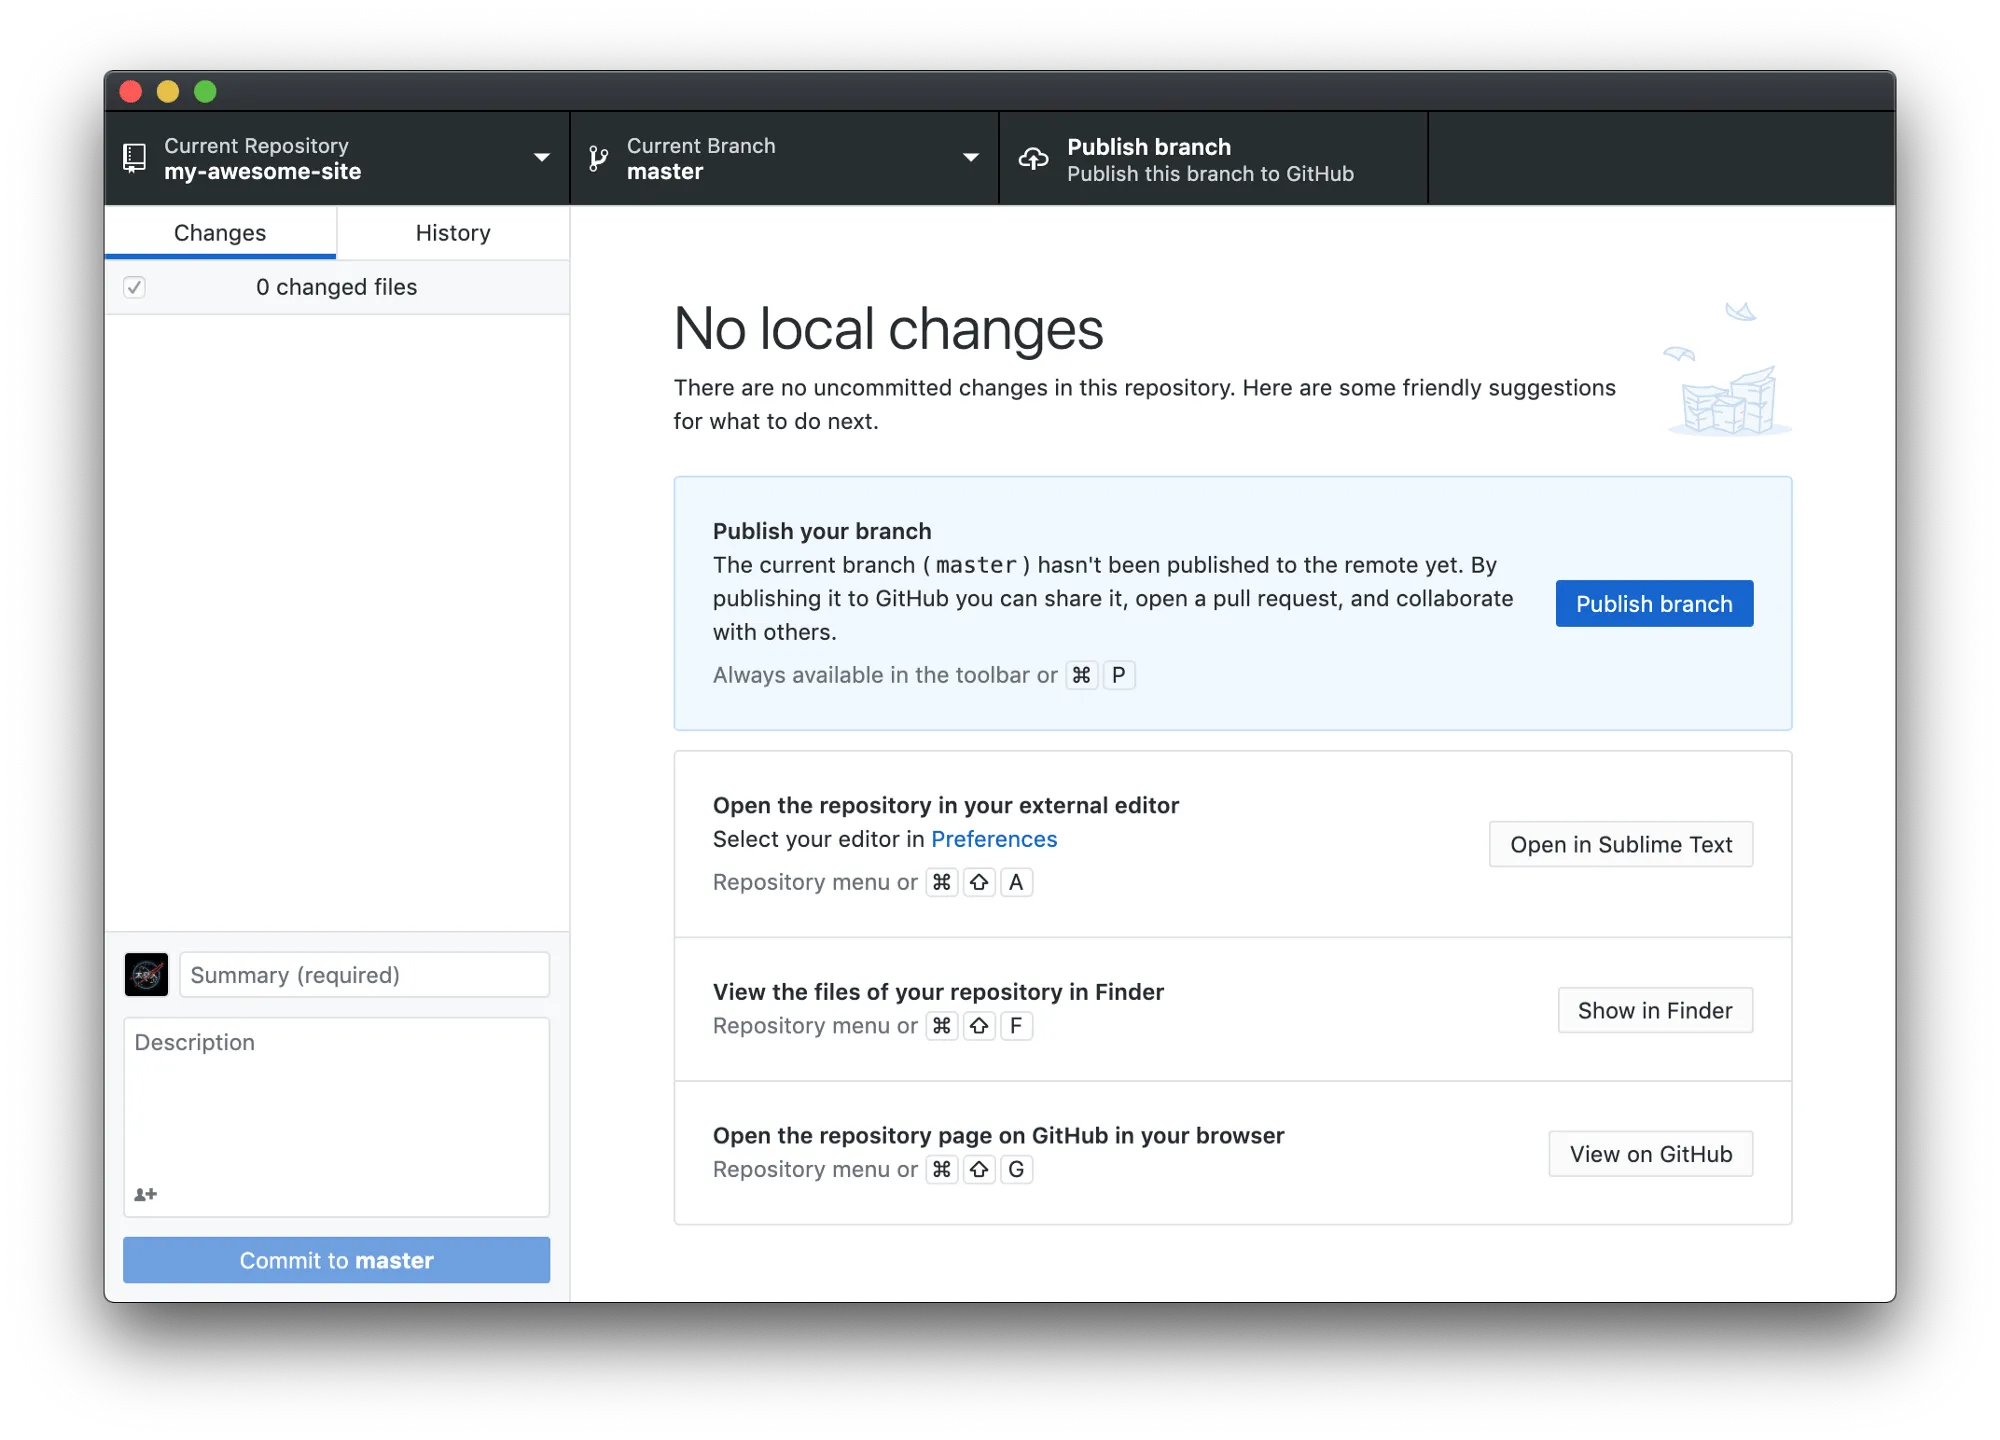
…then click “Publish branch”…
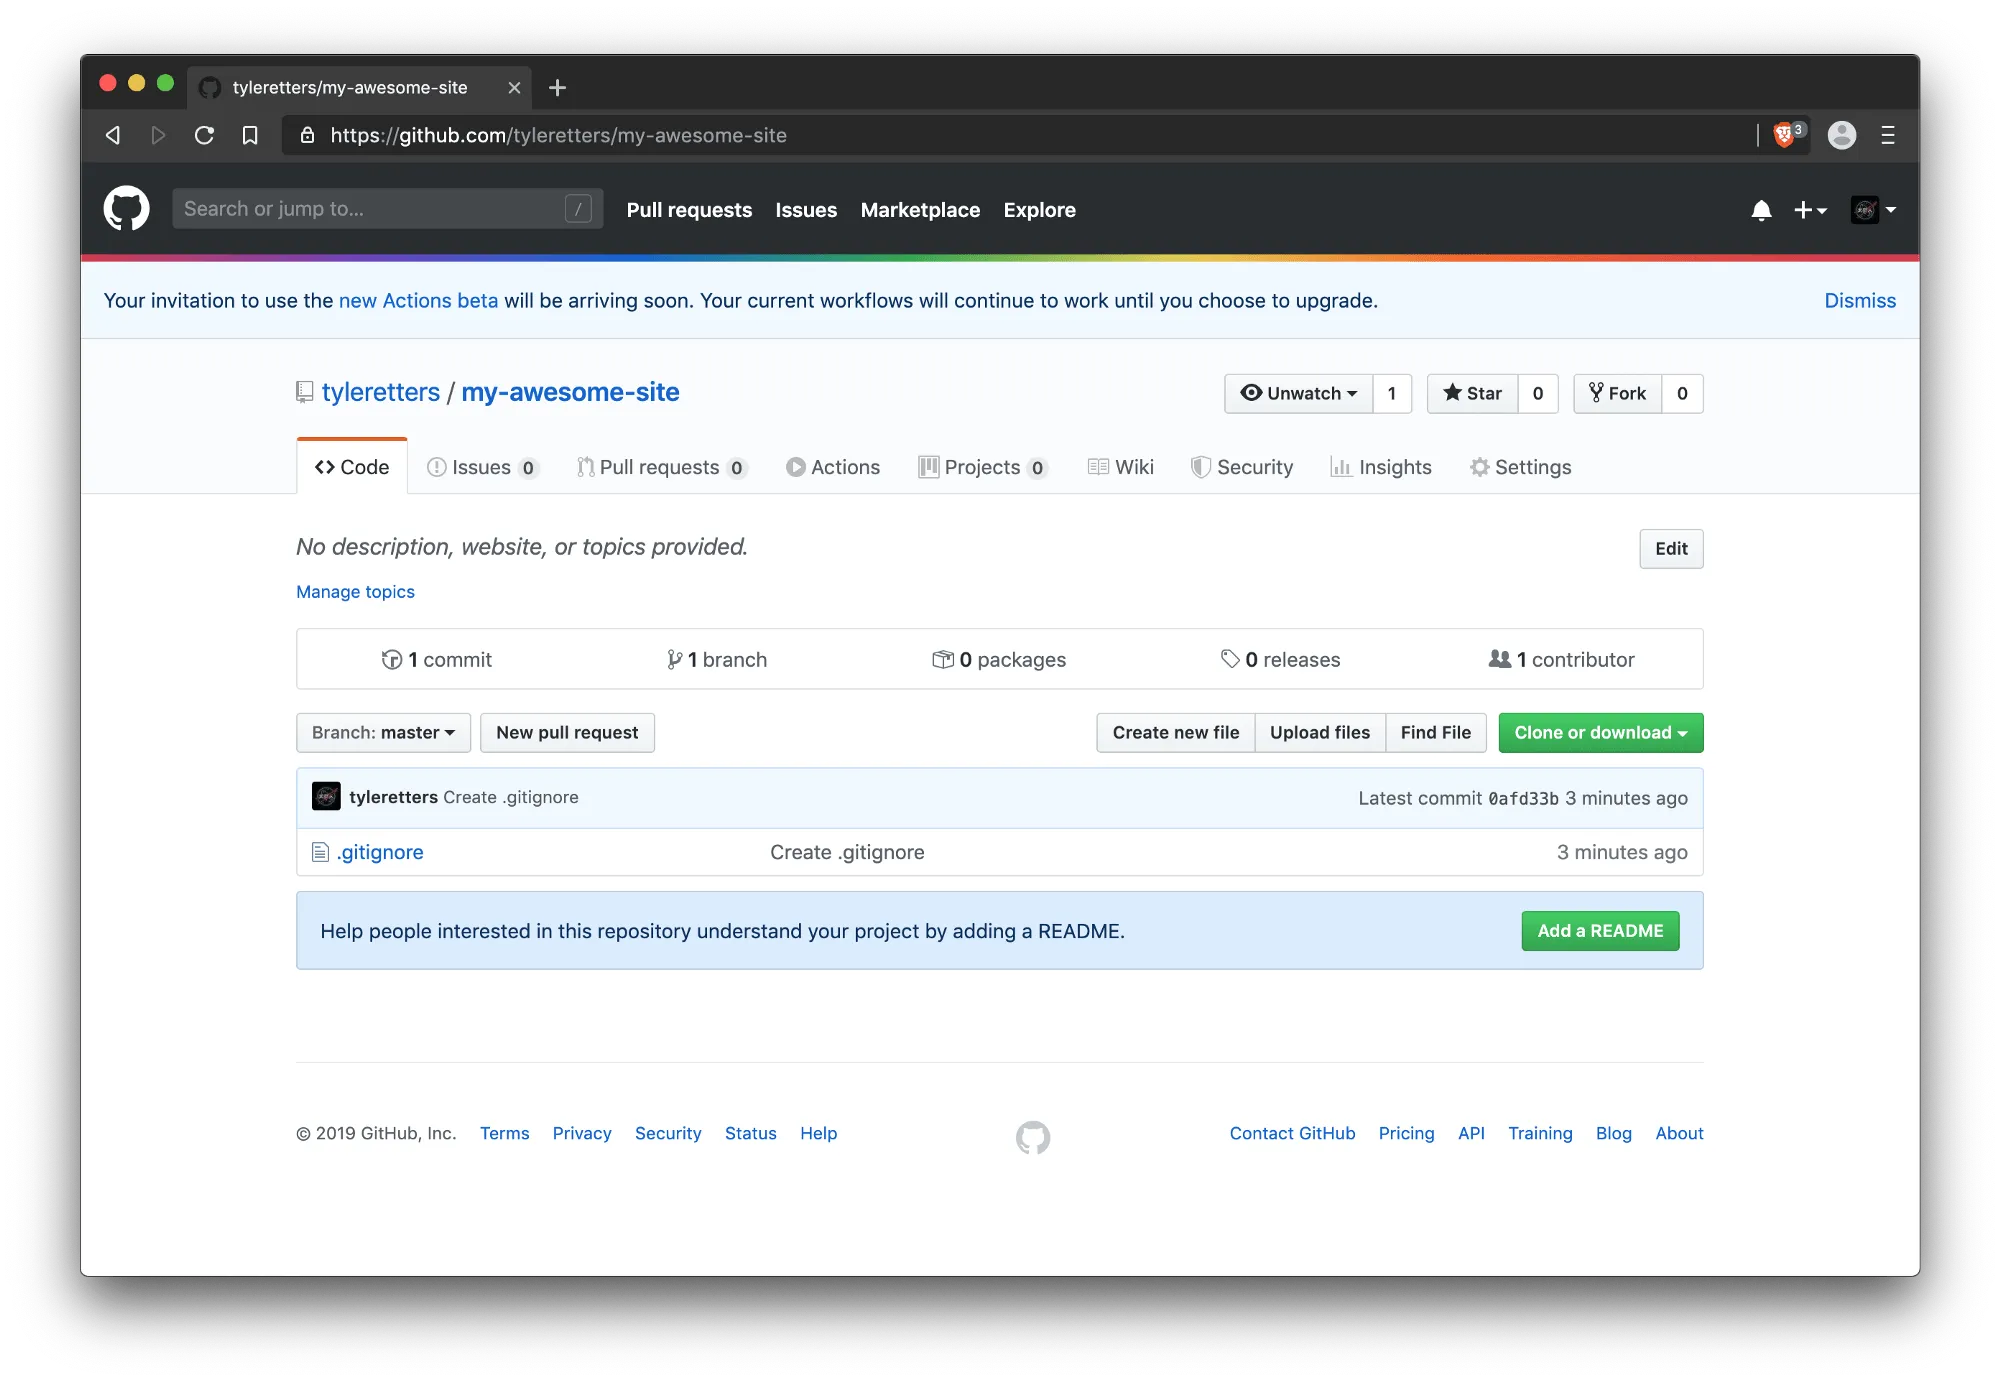
… and GitHub will reflect your changes.
Congratulations! You now have version control setup!
2. Update Ruby
macOS doesn’t ship with the latest version of Ruby. Let’s update it with Ruby Version Manager. Open up your terminal and enter this command to install the latest stable version:
curl -sSL https://get.rvm.io | bash -s stable --ruby
I’ve found rvm to be the easiest and most reliable way to install and use different versions of Ruby.
Once that completes, tell macOS to use the latest version. As of writing this post, Ruby is up to2.6.3. Check the download page to see what the latest stable version is. Open a new terminal window (if you don’t, macOS won’t recognize that we just installed RVM) and use the latest version of Ruby:
rvm use 2.6.3
To confirm this worked run:
ruby -v
The output should output should look something like this: ruby 2.6.3p62 (2019–04–16 revision 67580) [x86_64-darwin18]
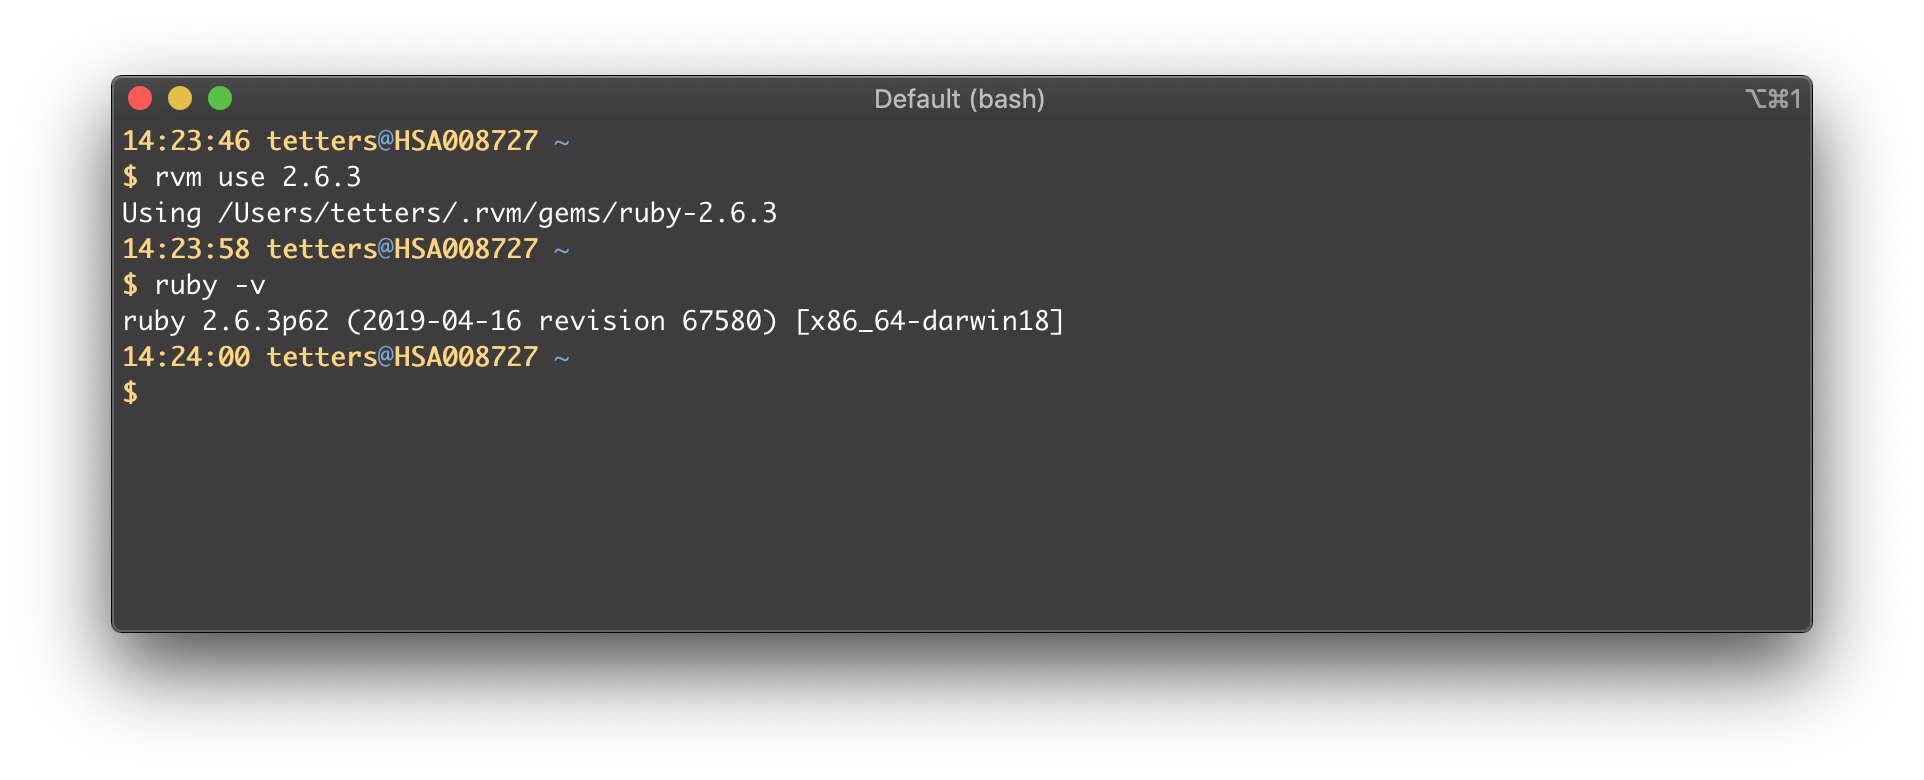
Great! Now Ruby is up to date.
3. Install Jekyll
Installing Jekyll takes seconds. In your terminal run:
gem install bundler jekyll
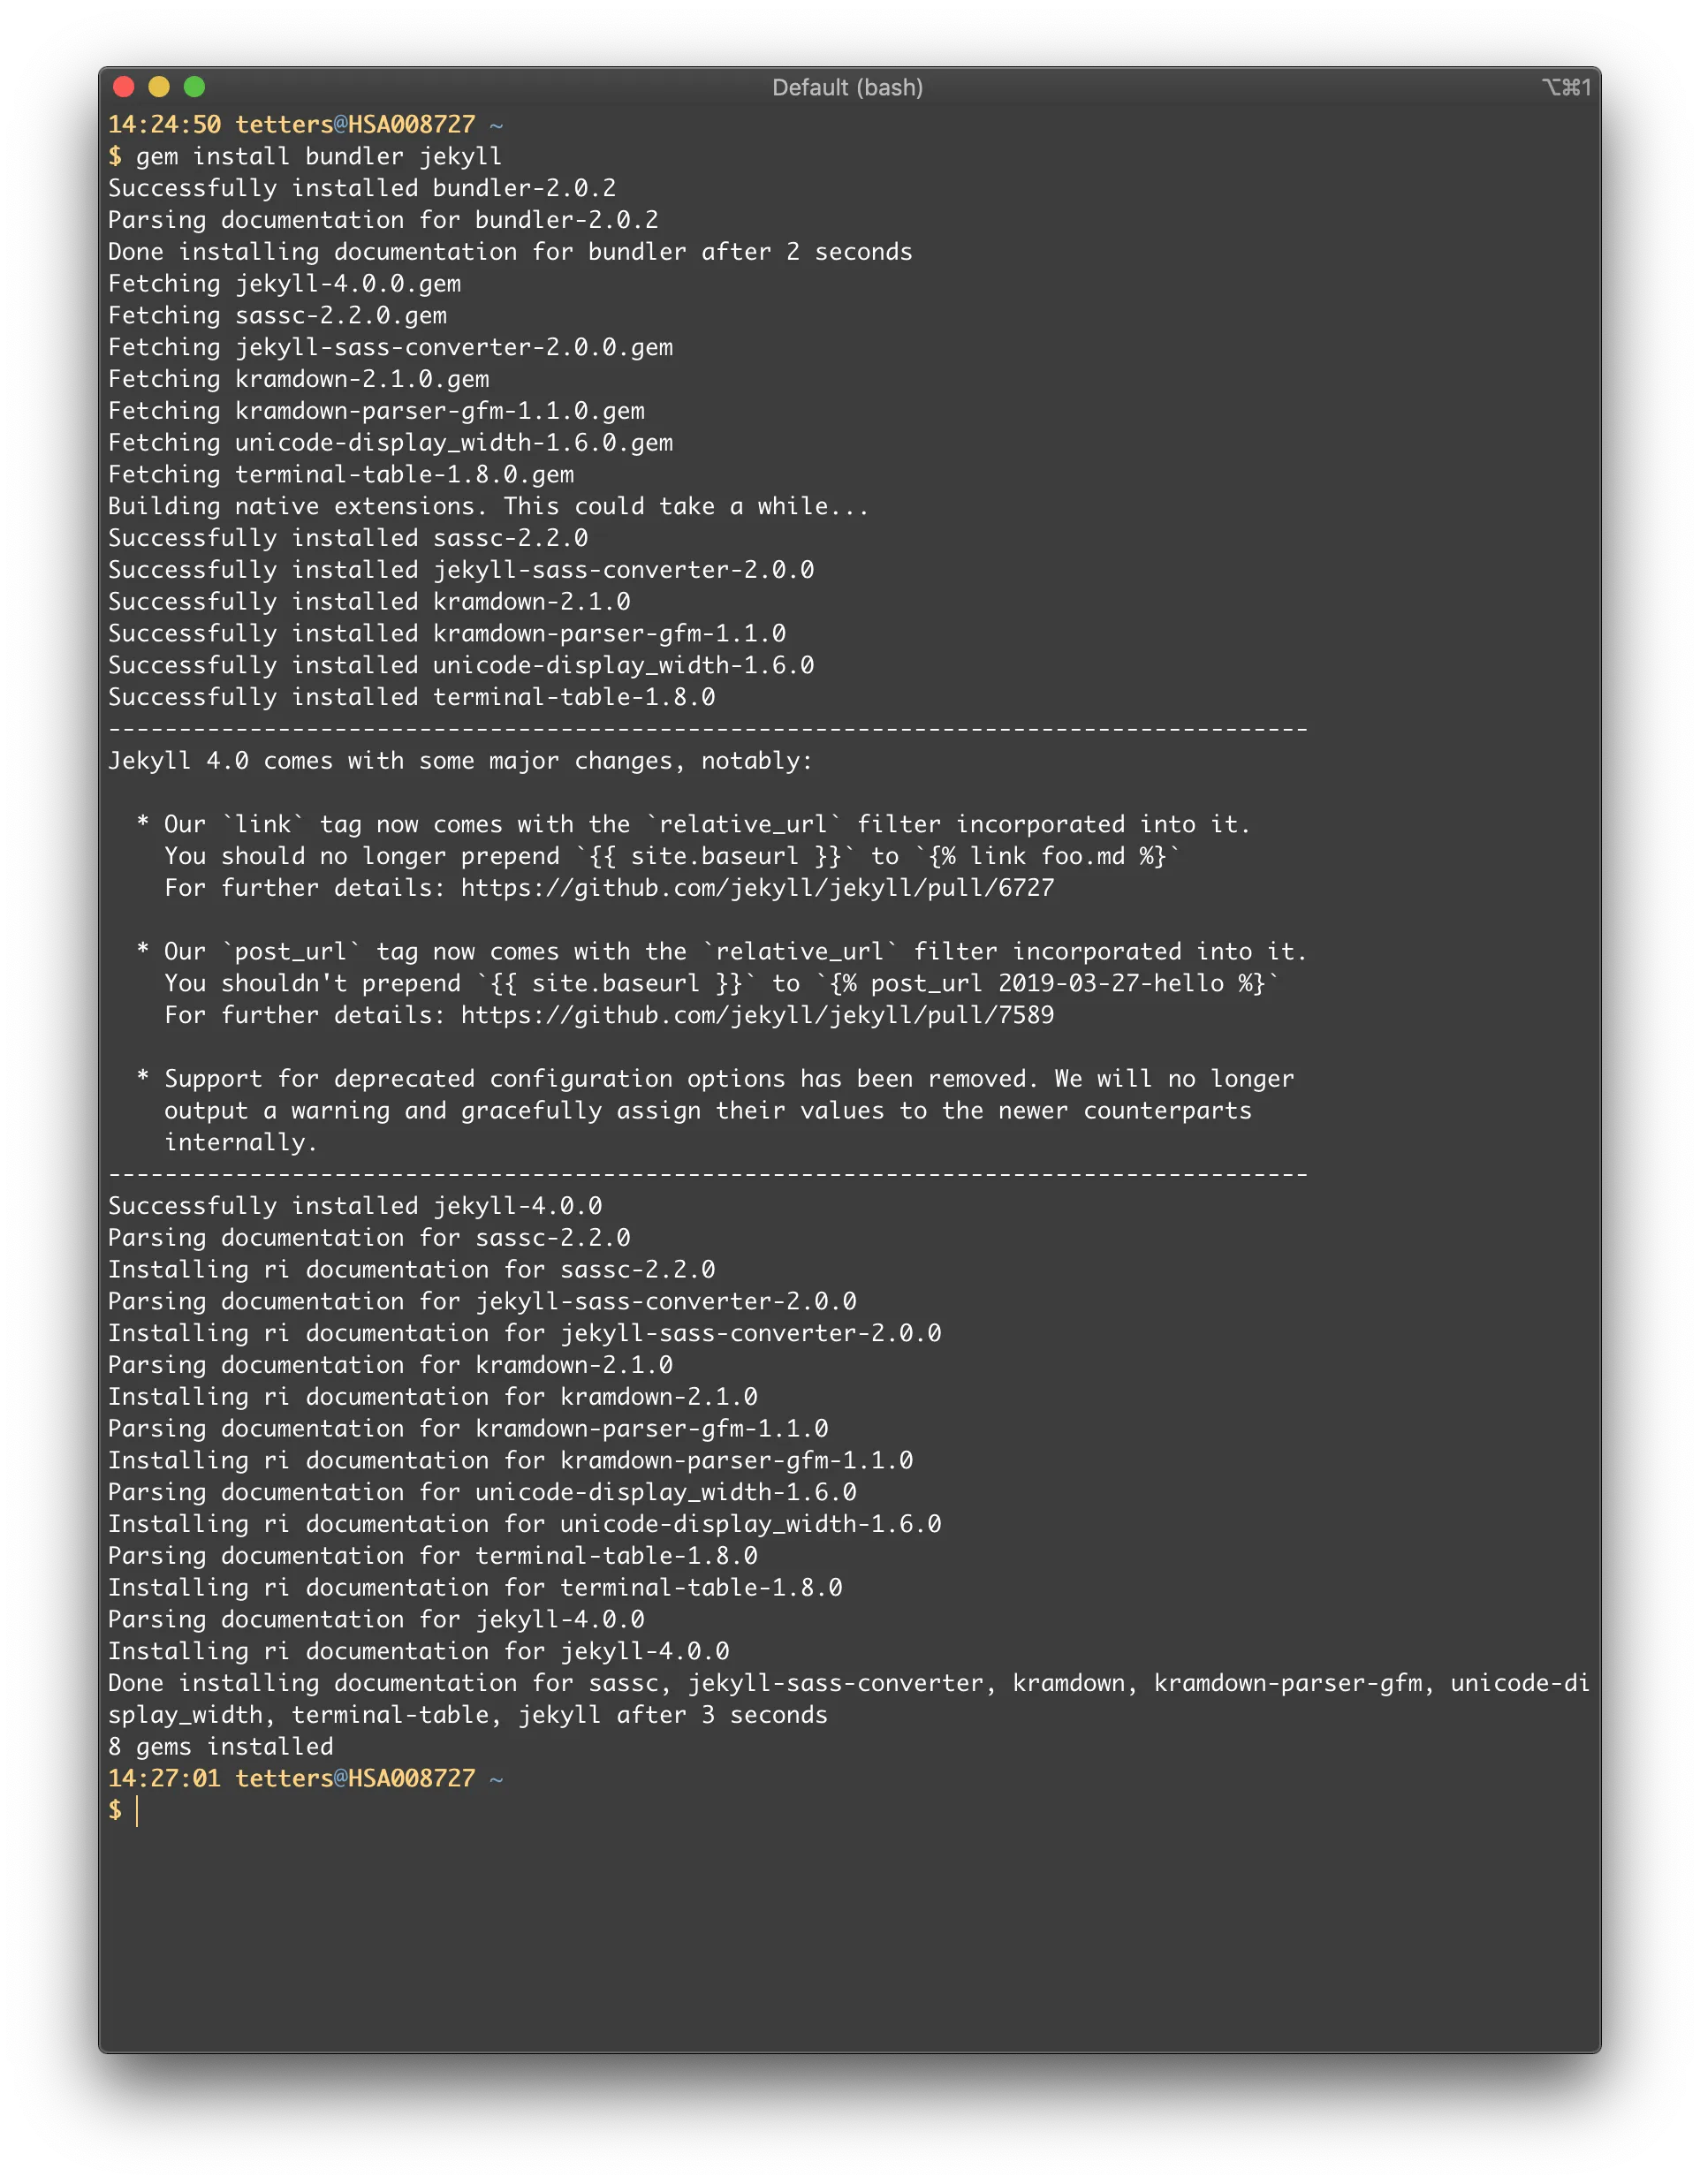
Great! Now Jekyll is installed on your computer and ready to go.
4. Create your site
n your terminal cd (which is short for “change directory”) to my-awesome-site you would like to store your new site. For me, that meant:
cd ~/dev/my-awesome-site
Once there, you can fire up a new Jekyll site:
jekyll new .
You’ll see a bunch of lines of text showing Bundler fetching and installing various packages.
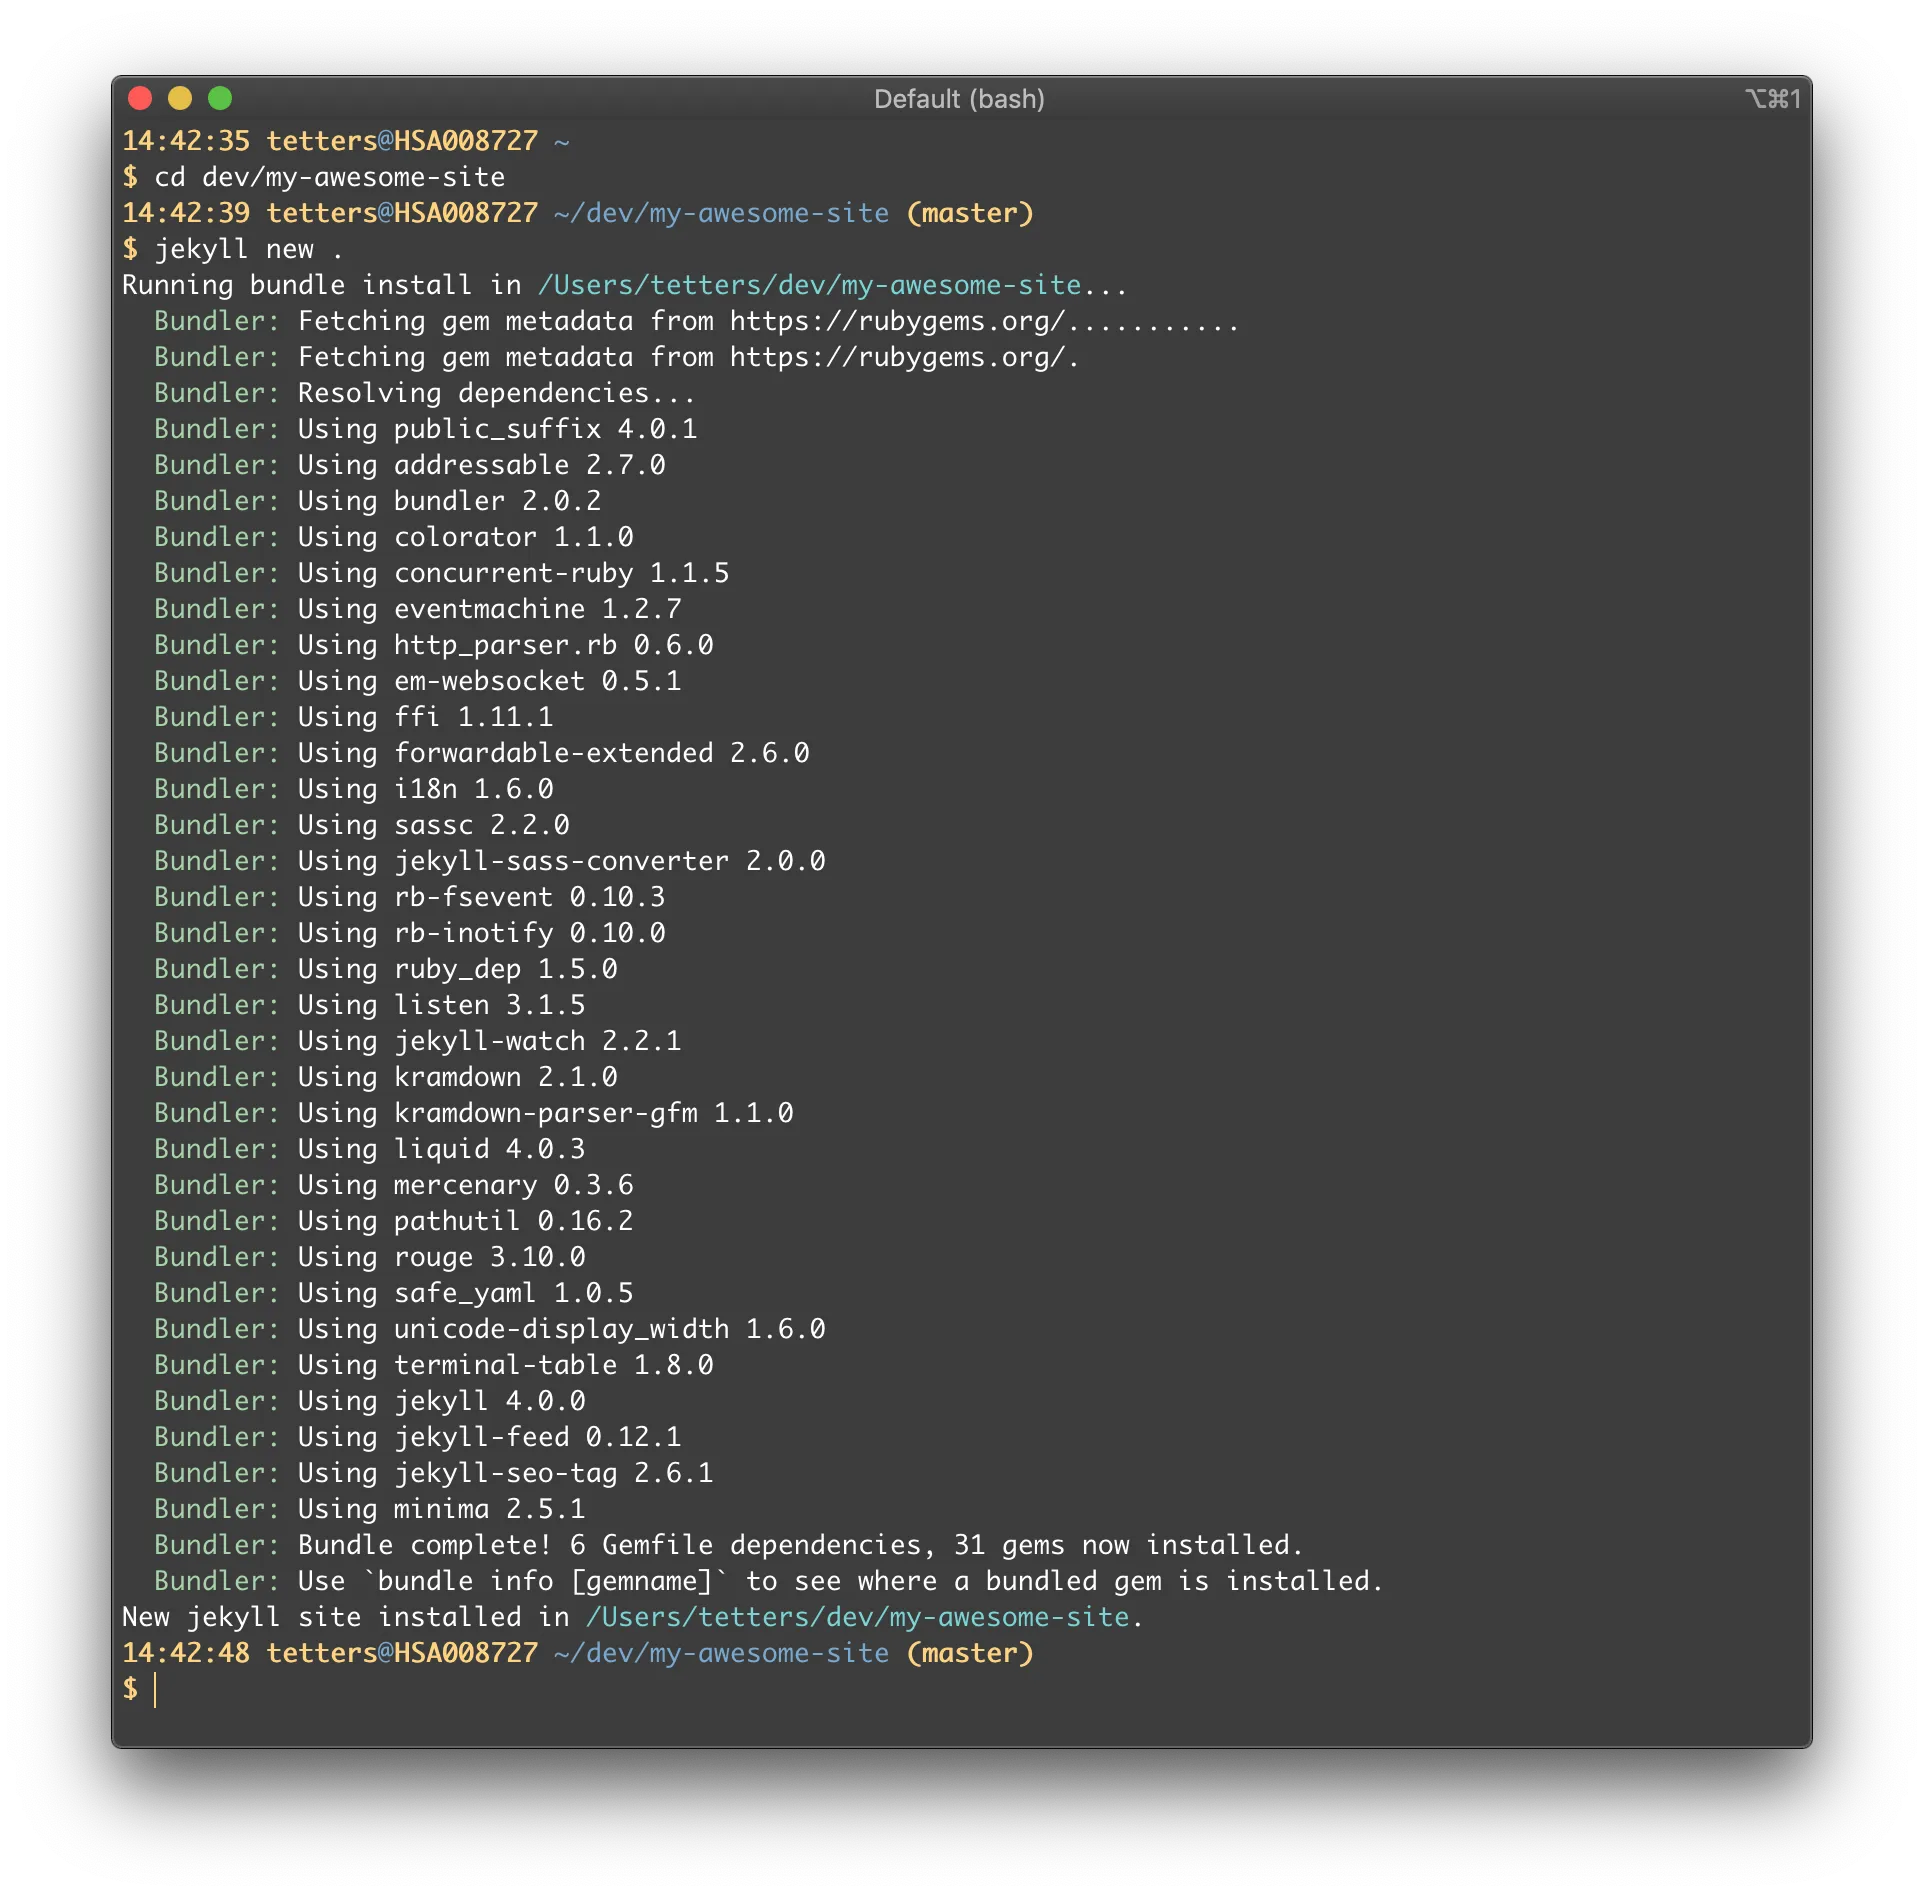
And then you can finally start serving the site with:
bundle exec jekyll serve
This command tells Jekyll to serve the site at http://127.0.0.1:4000, so go ahead and visit that in your browser. You should see a basic Jekyll home page.

Exciting!! We’re almost done.
Note that you’ll need to keep the “bundle exec jekyll serve” window open and running in the background while you work. If you close that process, Jekyll will stop watching for your changes and will stop serving the site.
Whenever a file changes (except for _config.yml; more on that later), Jekyll will know about it and the changes will cascade through all site. These static files are stored in the _site/ directory. This directory is essentially the “root” of your website. You’ll be developing outside the _site/ directory, however. If you change any files inside _site/, they will get overwritten the next time Jekyll compiles everything.
Try it out! Open up my-awesome-site/index.markdown in your favorite text editor and add in a nice little “hi” for yourself.
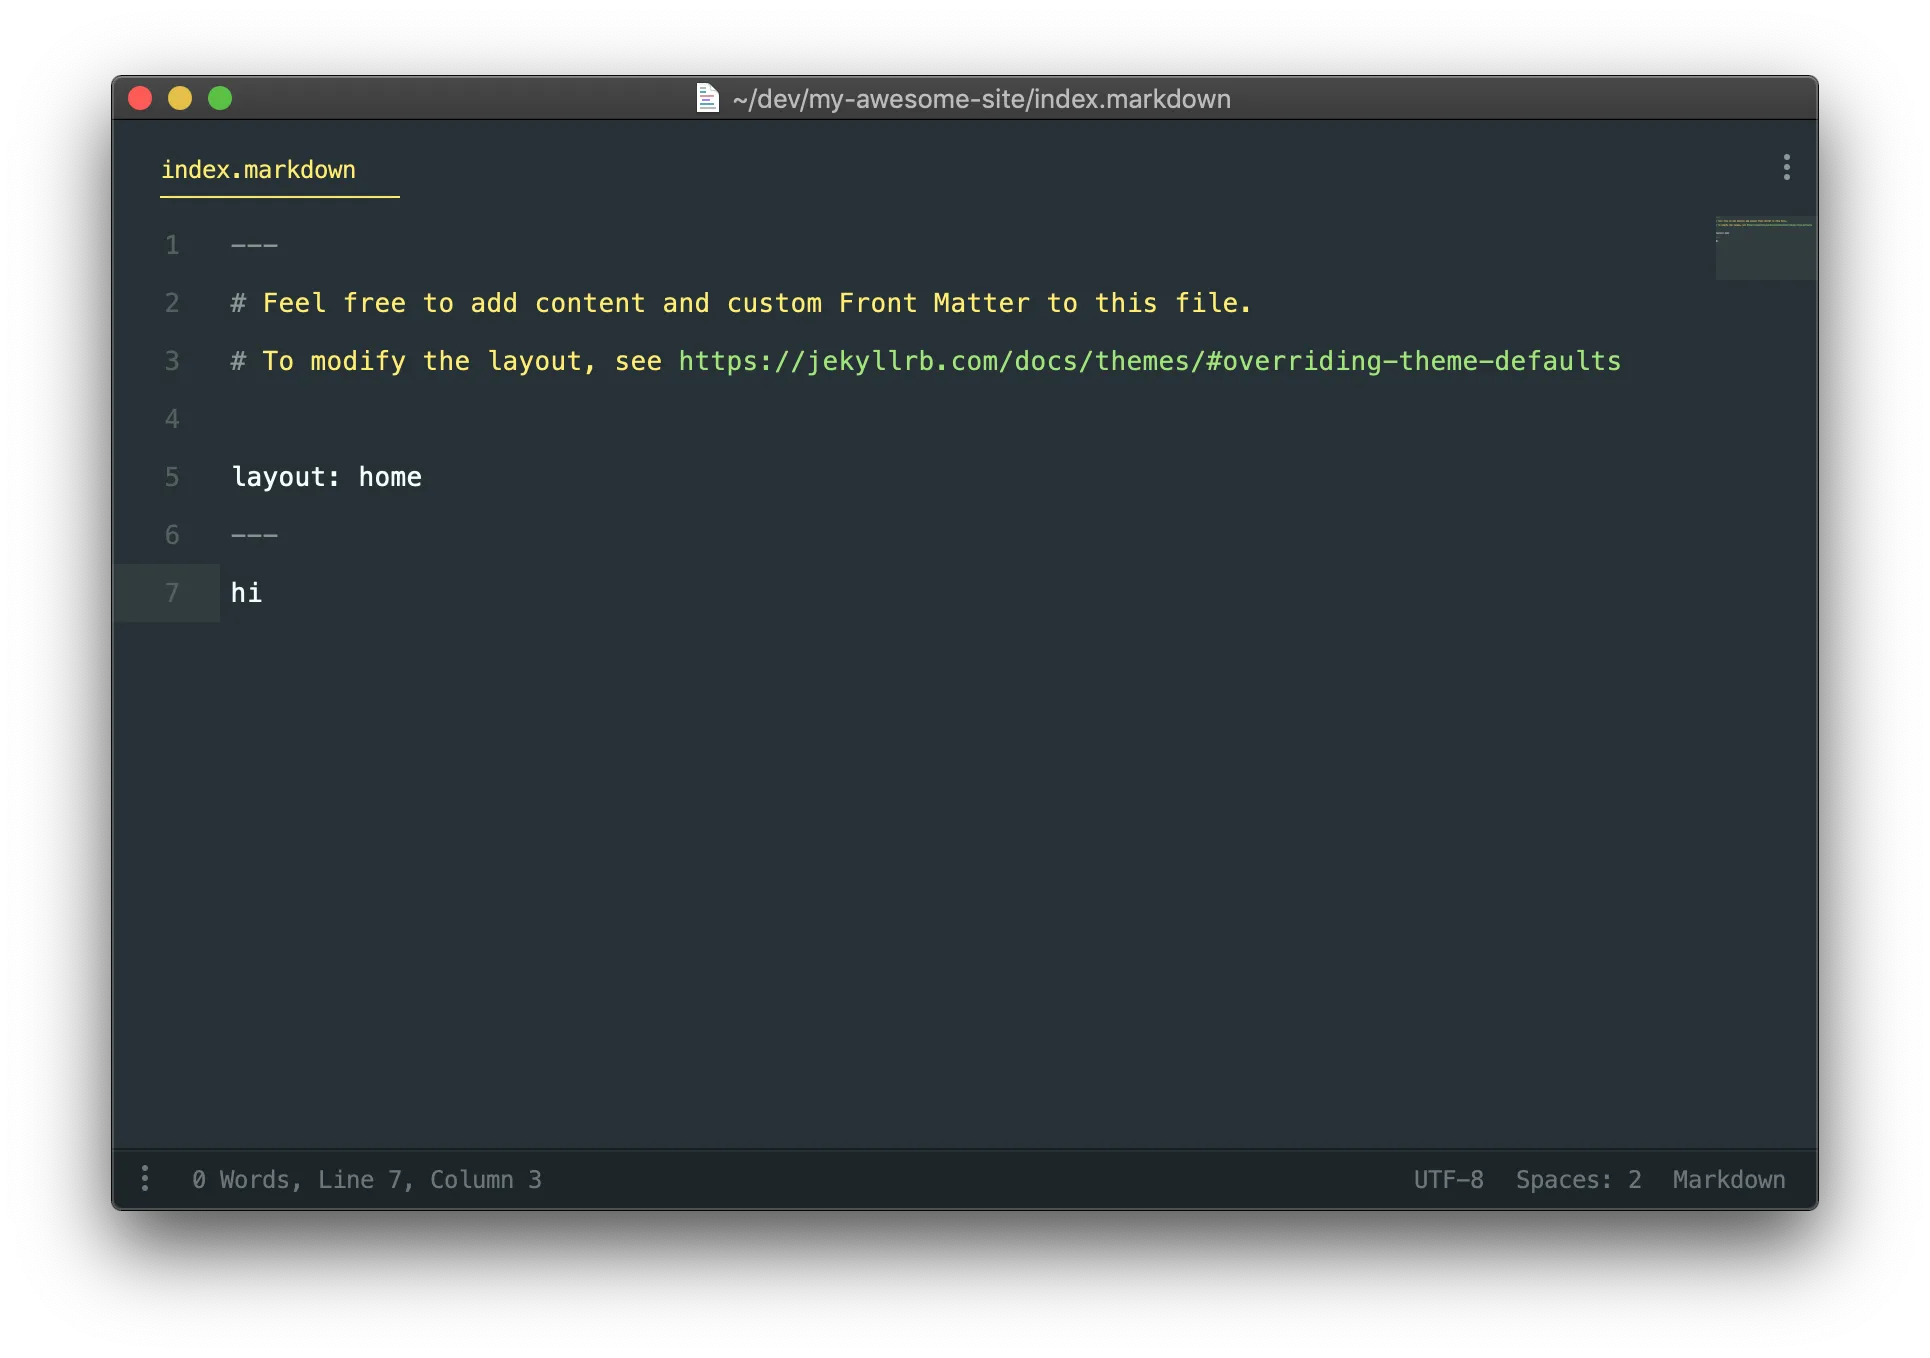
Save the file. Your “bundle exec jekyll serve” window will see the changes. Note how it says “1 file(s) changed…”
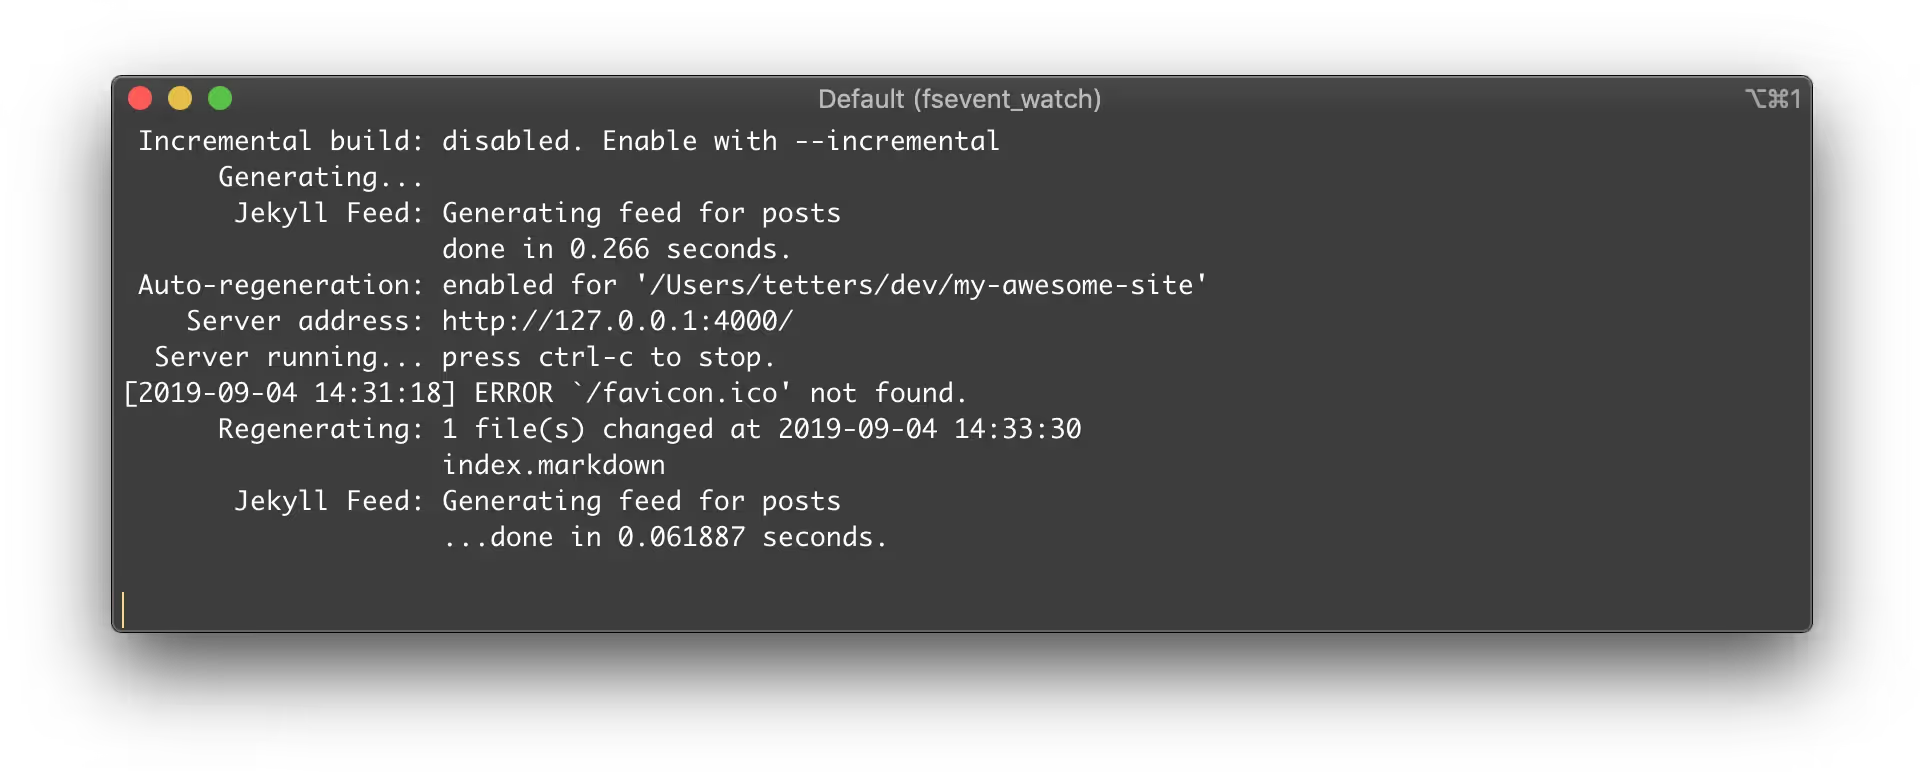
And now you can refresh the browser tab open to http://127.0.0.1:4000.
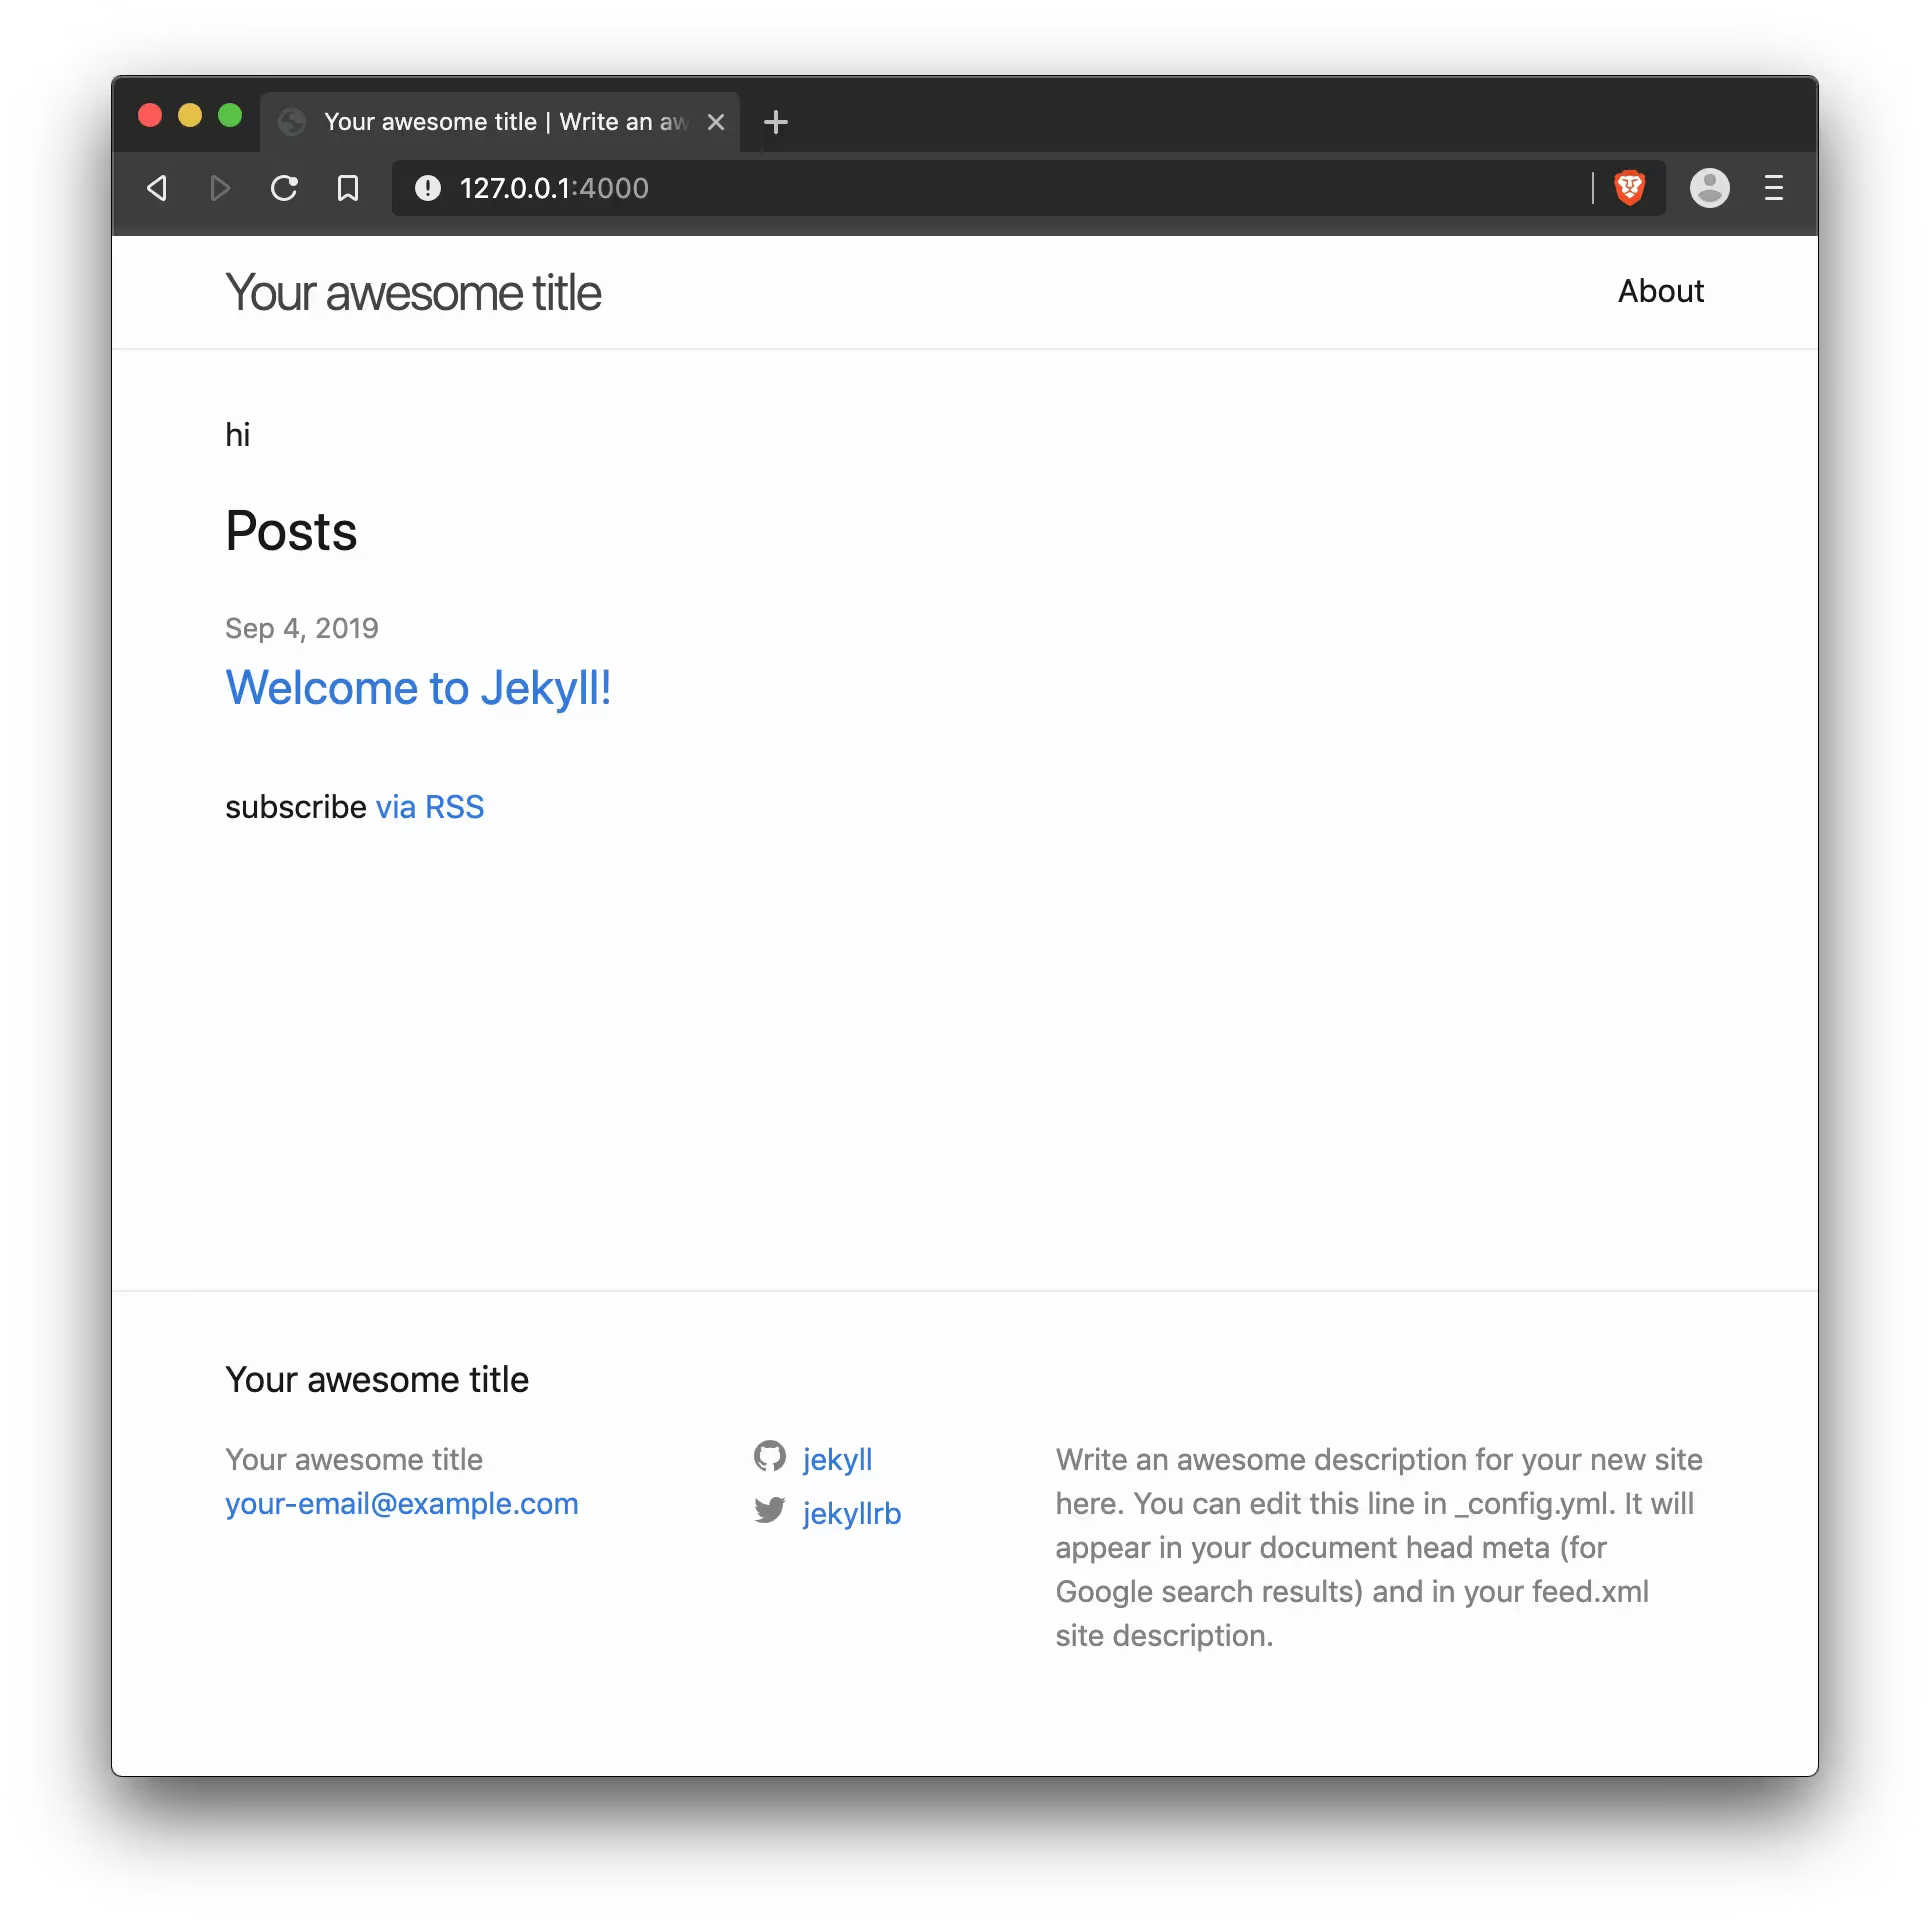
Now we’re all set to develop locally. The remaining steps will get our local site up to GitHub and publicly accessible via a URL.
5. Push to GitHub
Open up the GitHub desktop client again. You should see a bunch of activity. Commit all the changes and push.
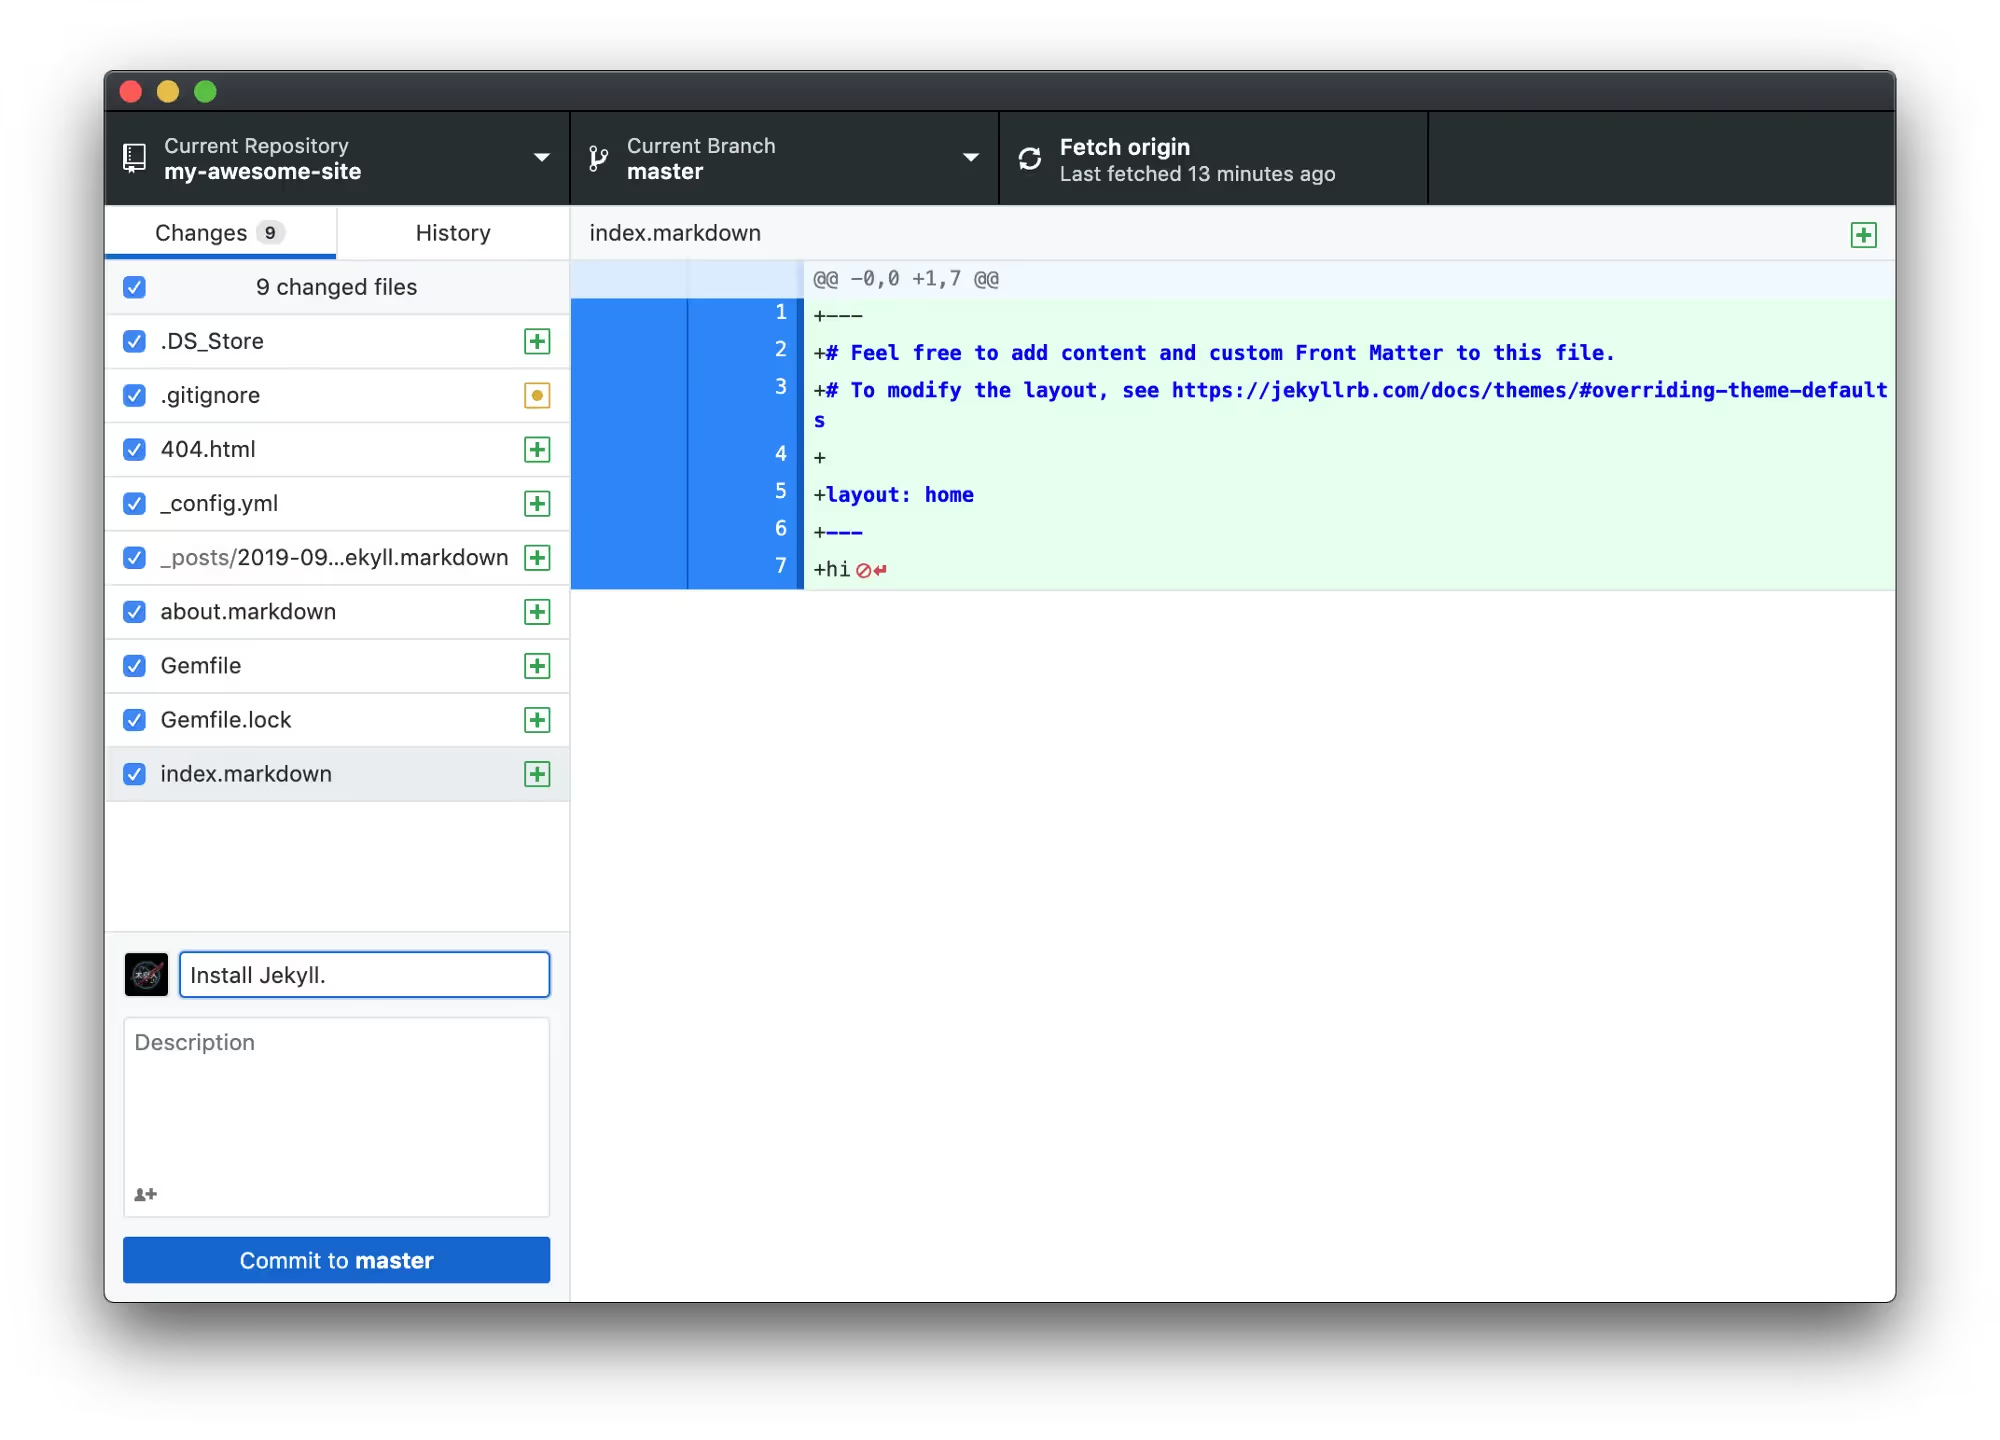
Add a commit message like “Install Jekyll.” and click “Commit to master”…
… then click “Push origin”.
Again, all your local changes are now visible on GitHub.
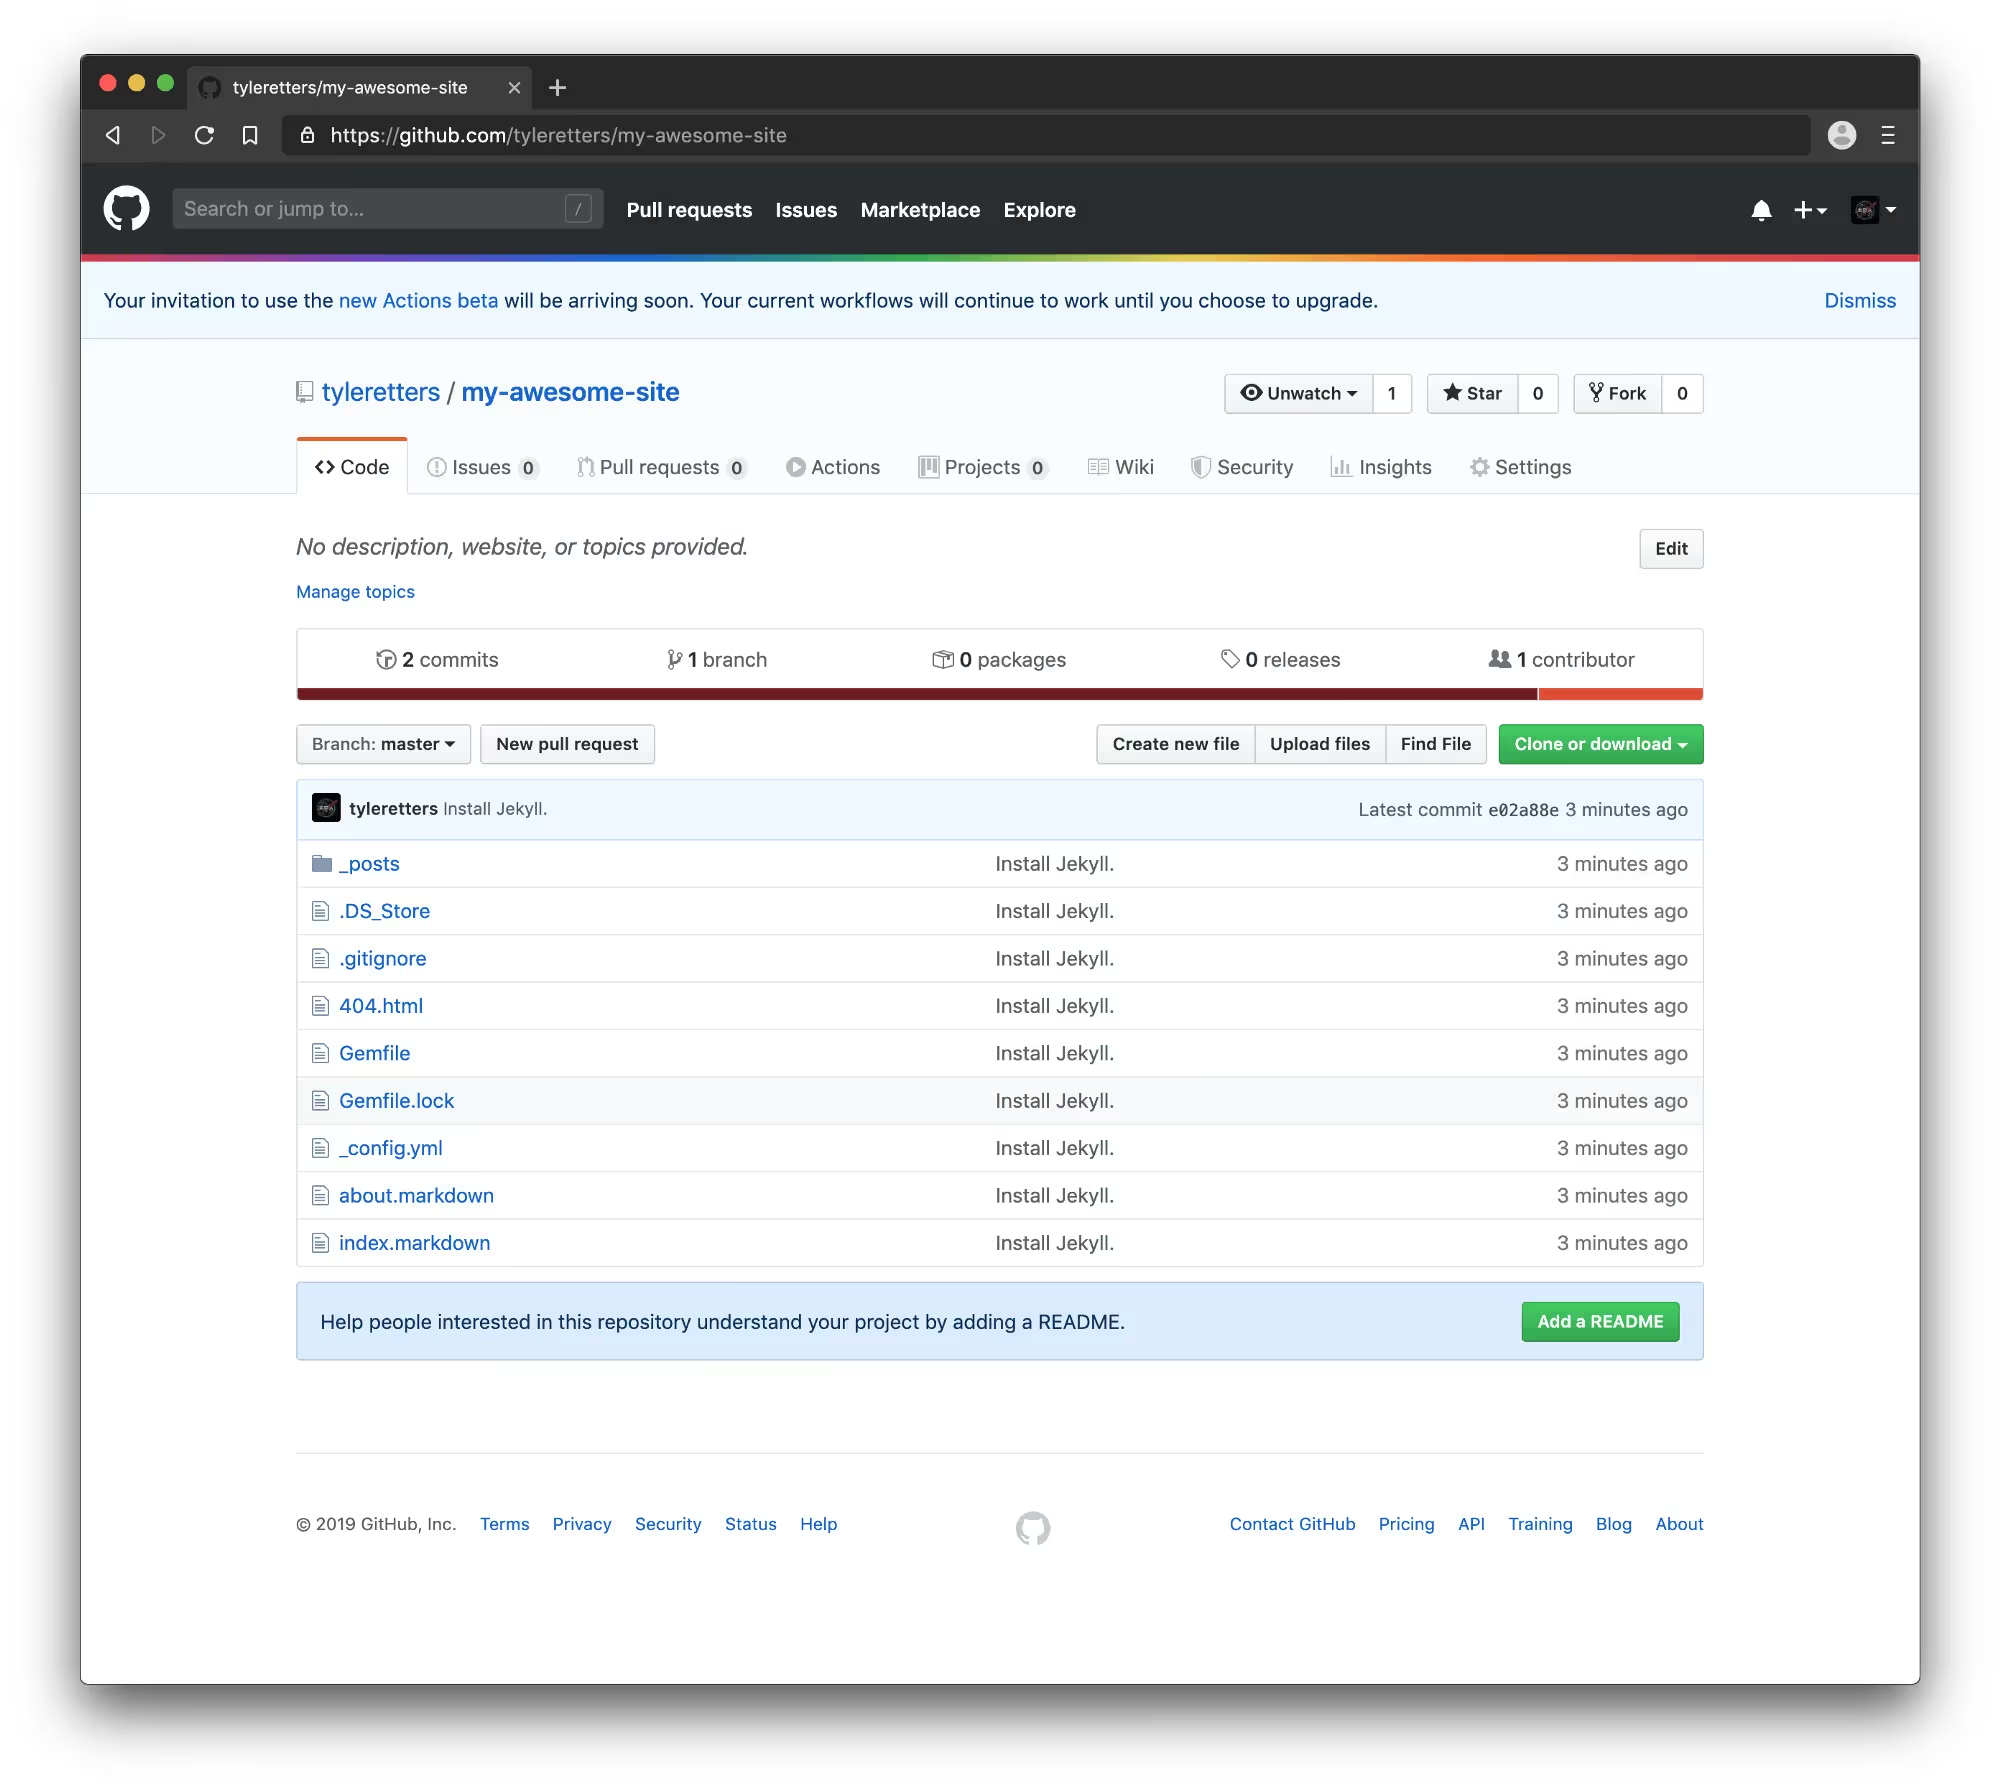
6. Publish on GitHub Pages
Now we’re going to publish our site on GitHub Pages. Visit the settings page and select the master branch.
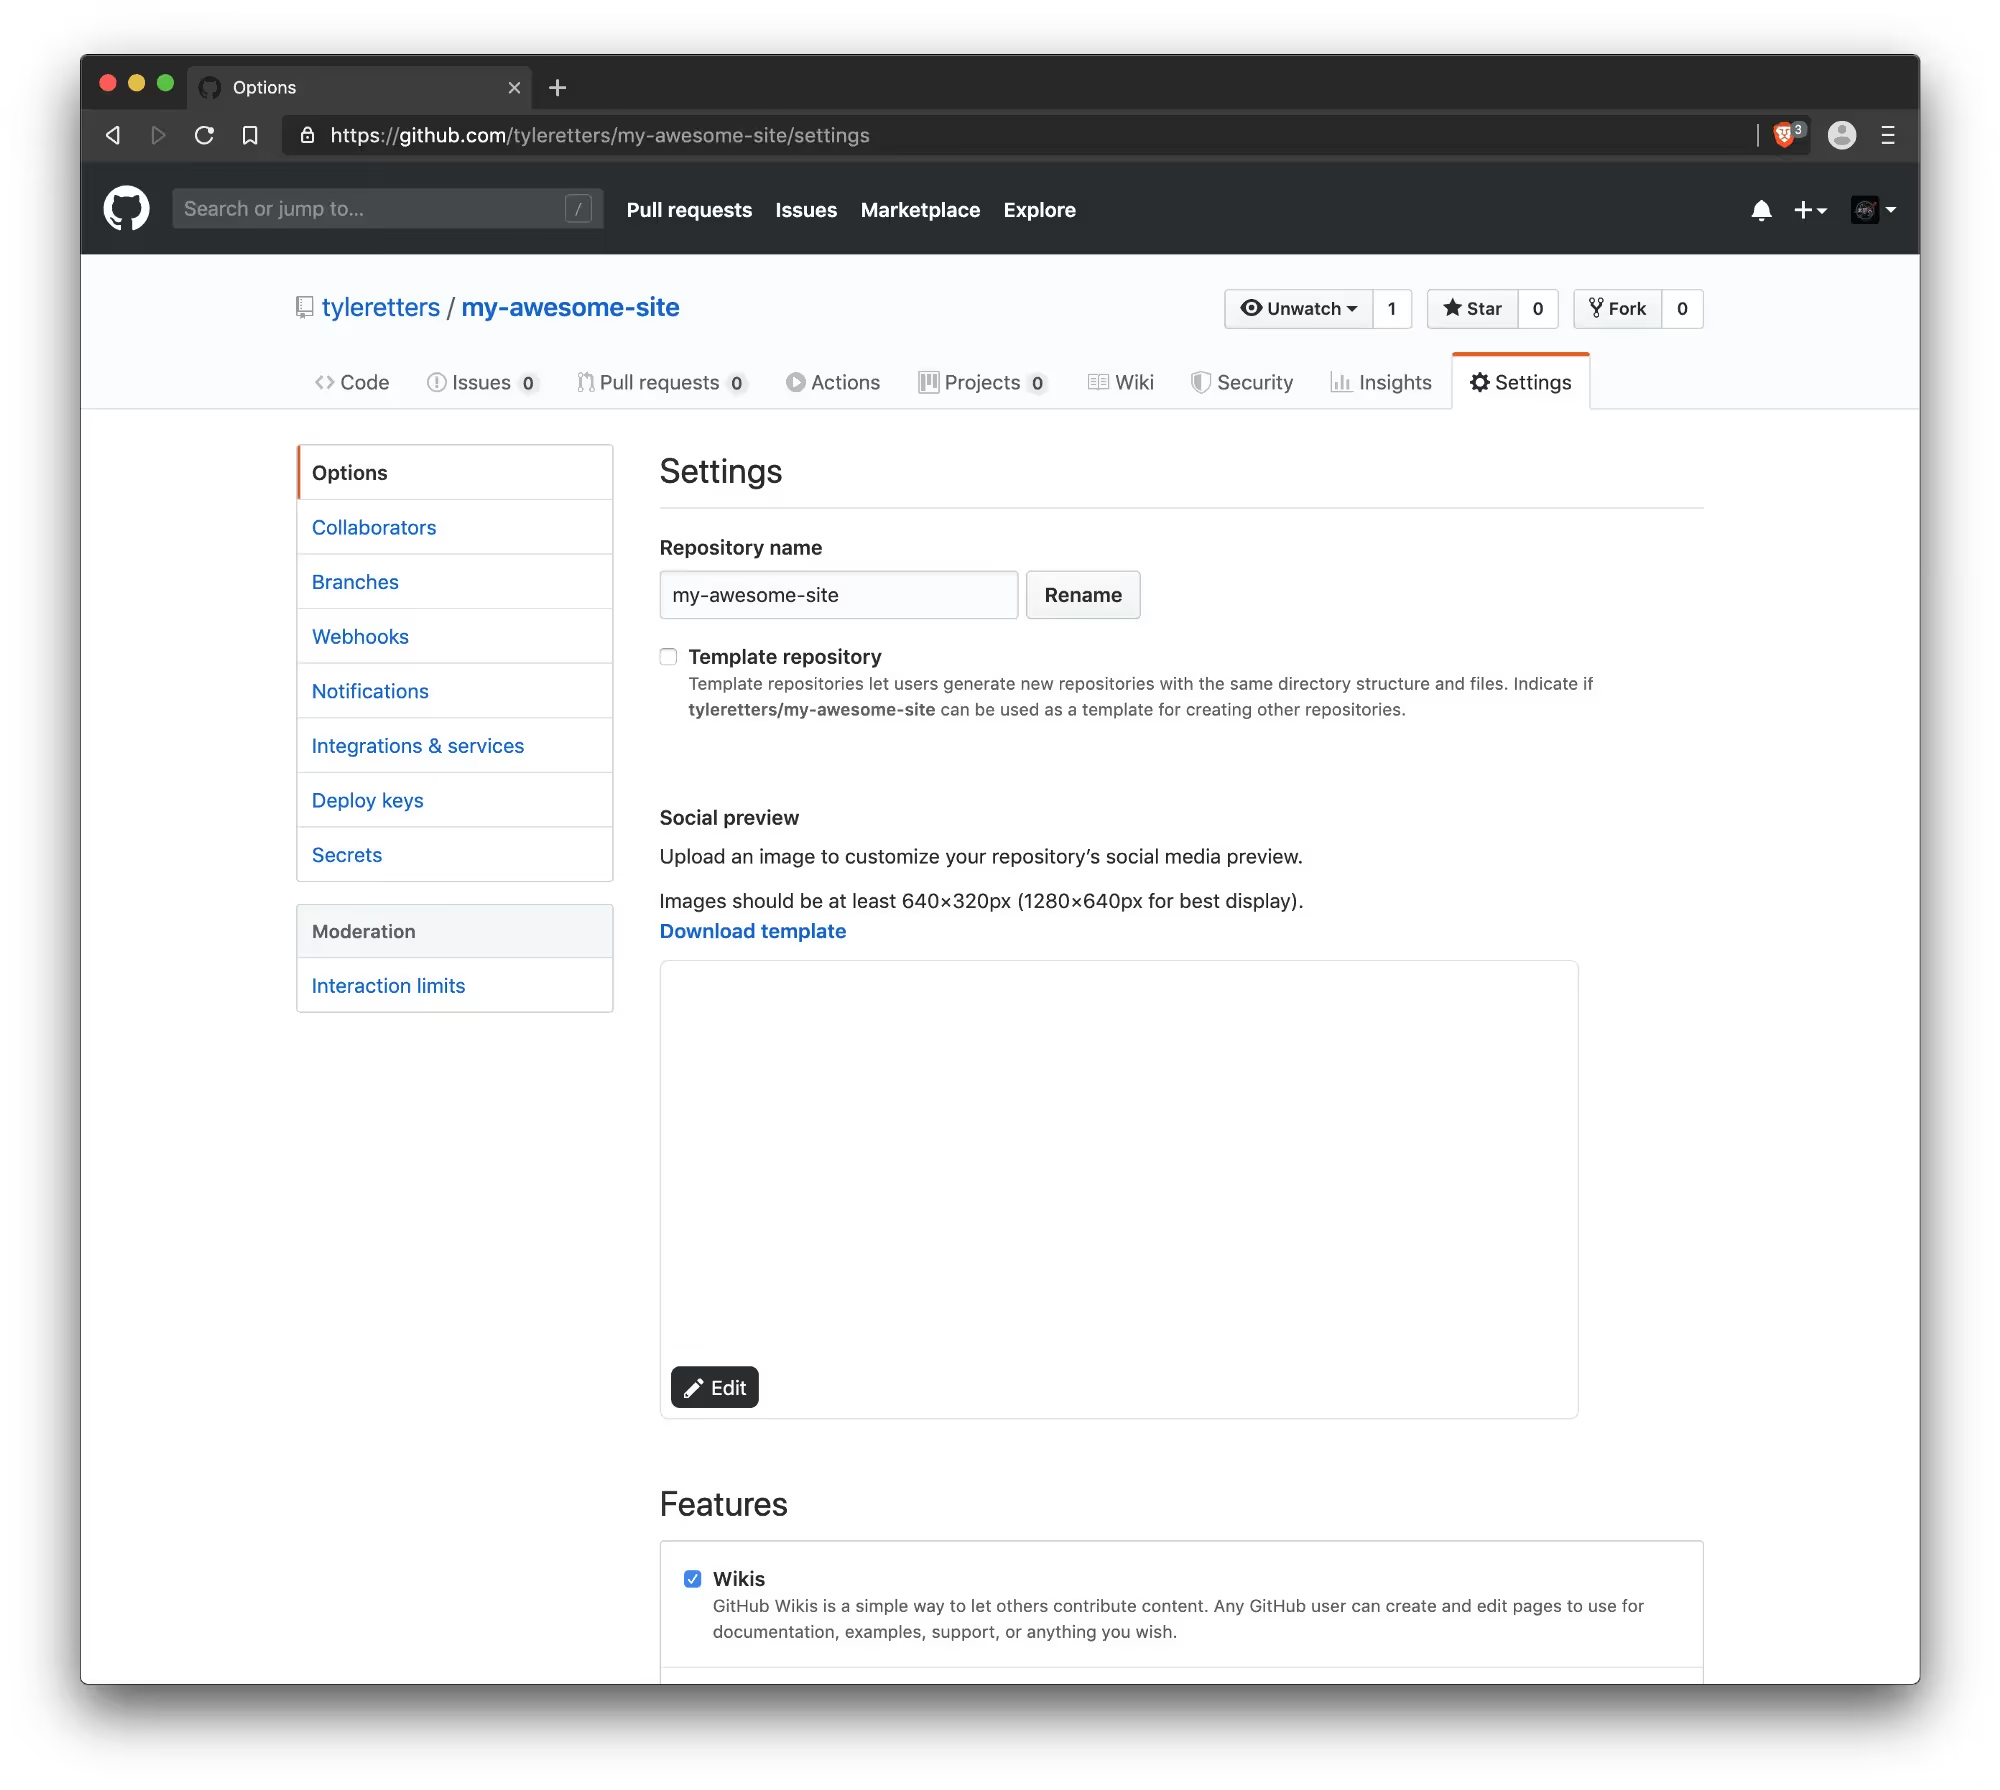
The repository Settings page is accessible via the top navigation.
Towards the bottom of the page you can find the “GitHub Pages” section.
Set the source to “master branch”…
… and you’ll be greeted with a message that says “GitHub Pages source saved.”
Scroll back down to the GitHub Pages section and you should see a URL that your site is now published at. For me it was https://tyleretters.github.io/my-awesome-site/. If you visit it you’ll notice there is an issue. All the CSS is broken.
Why is this?
Well, GitHub Pages serves your sites from what is essentially subdirectory, in this case /my-awesome-site. Locally, your machine serves from the root directory /. So all the relative links are broken. There are three ways to fix this. The first, and most complex, is to setup a custom domain name. The second, and most tedious, is to update all the relative links in your Jekyll files with some conditional logic. The third, and simplest, is to update your config file.
Since this is a beginner’s guide, we’re going to go with option #3!
7. Get to Know Your Config File
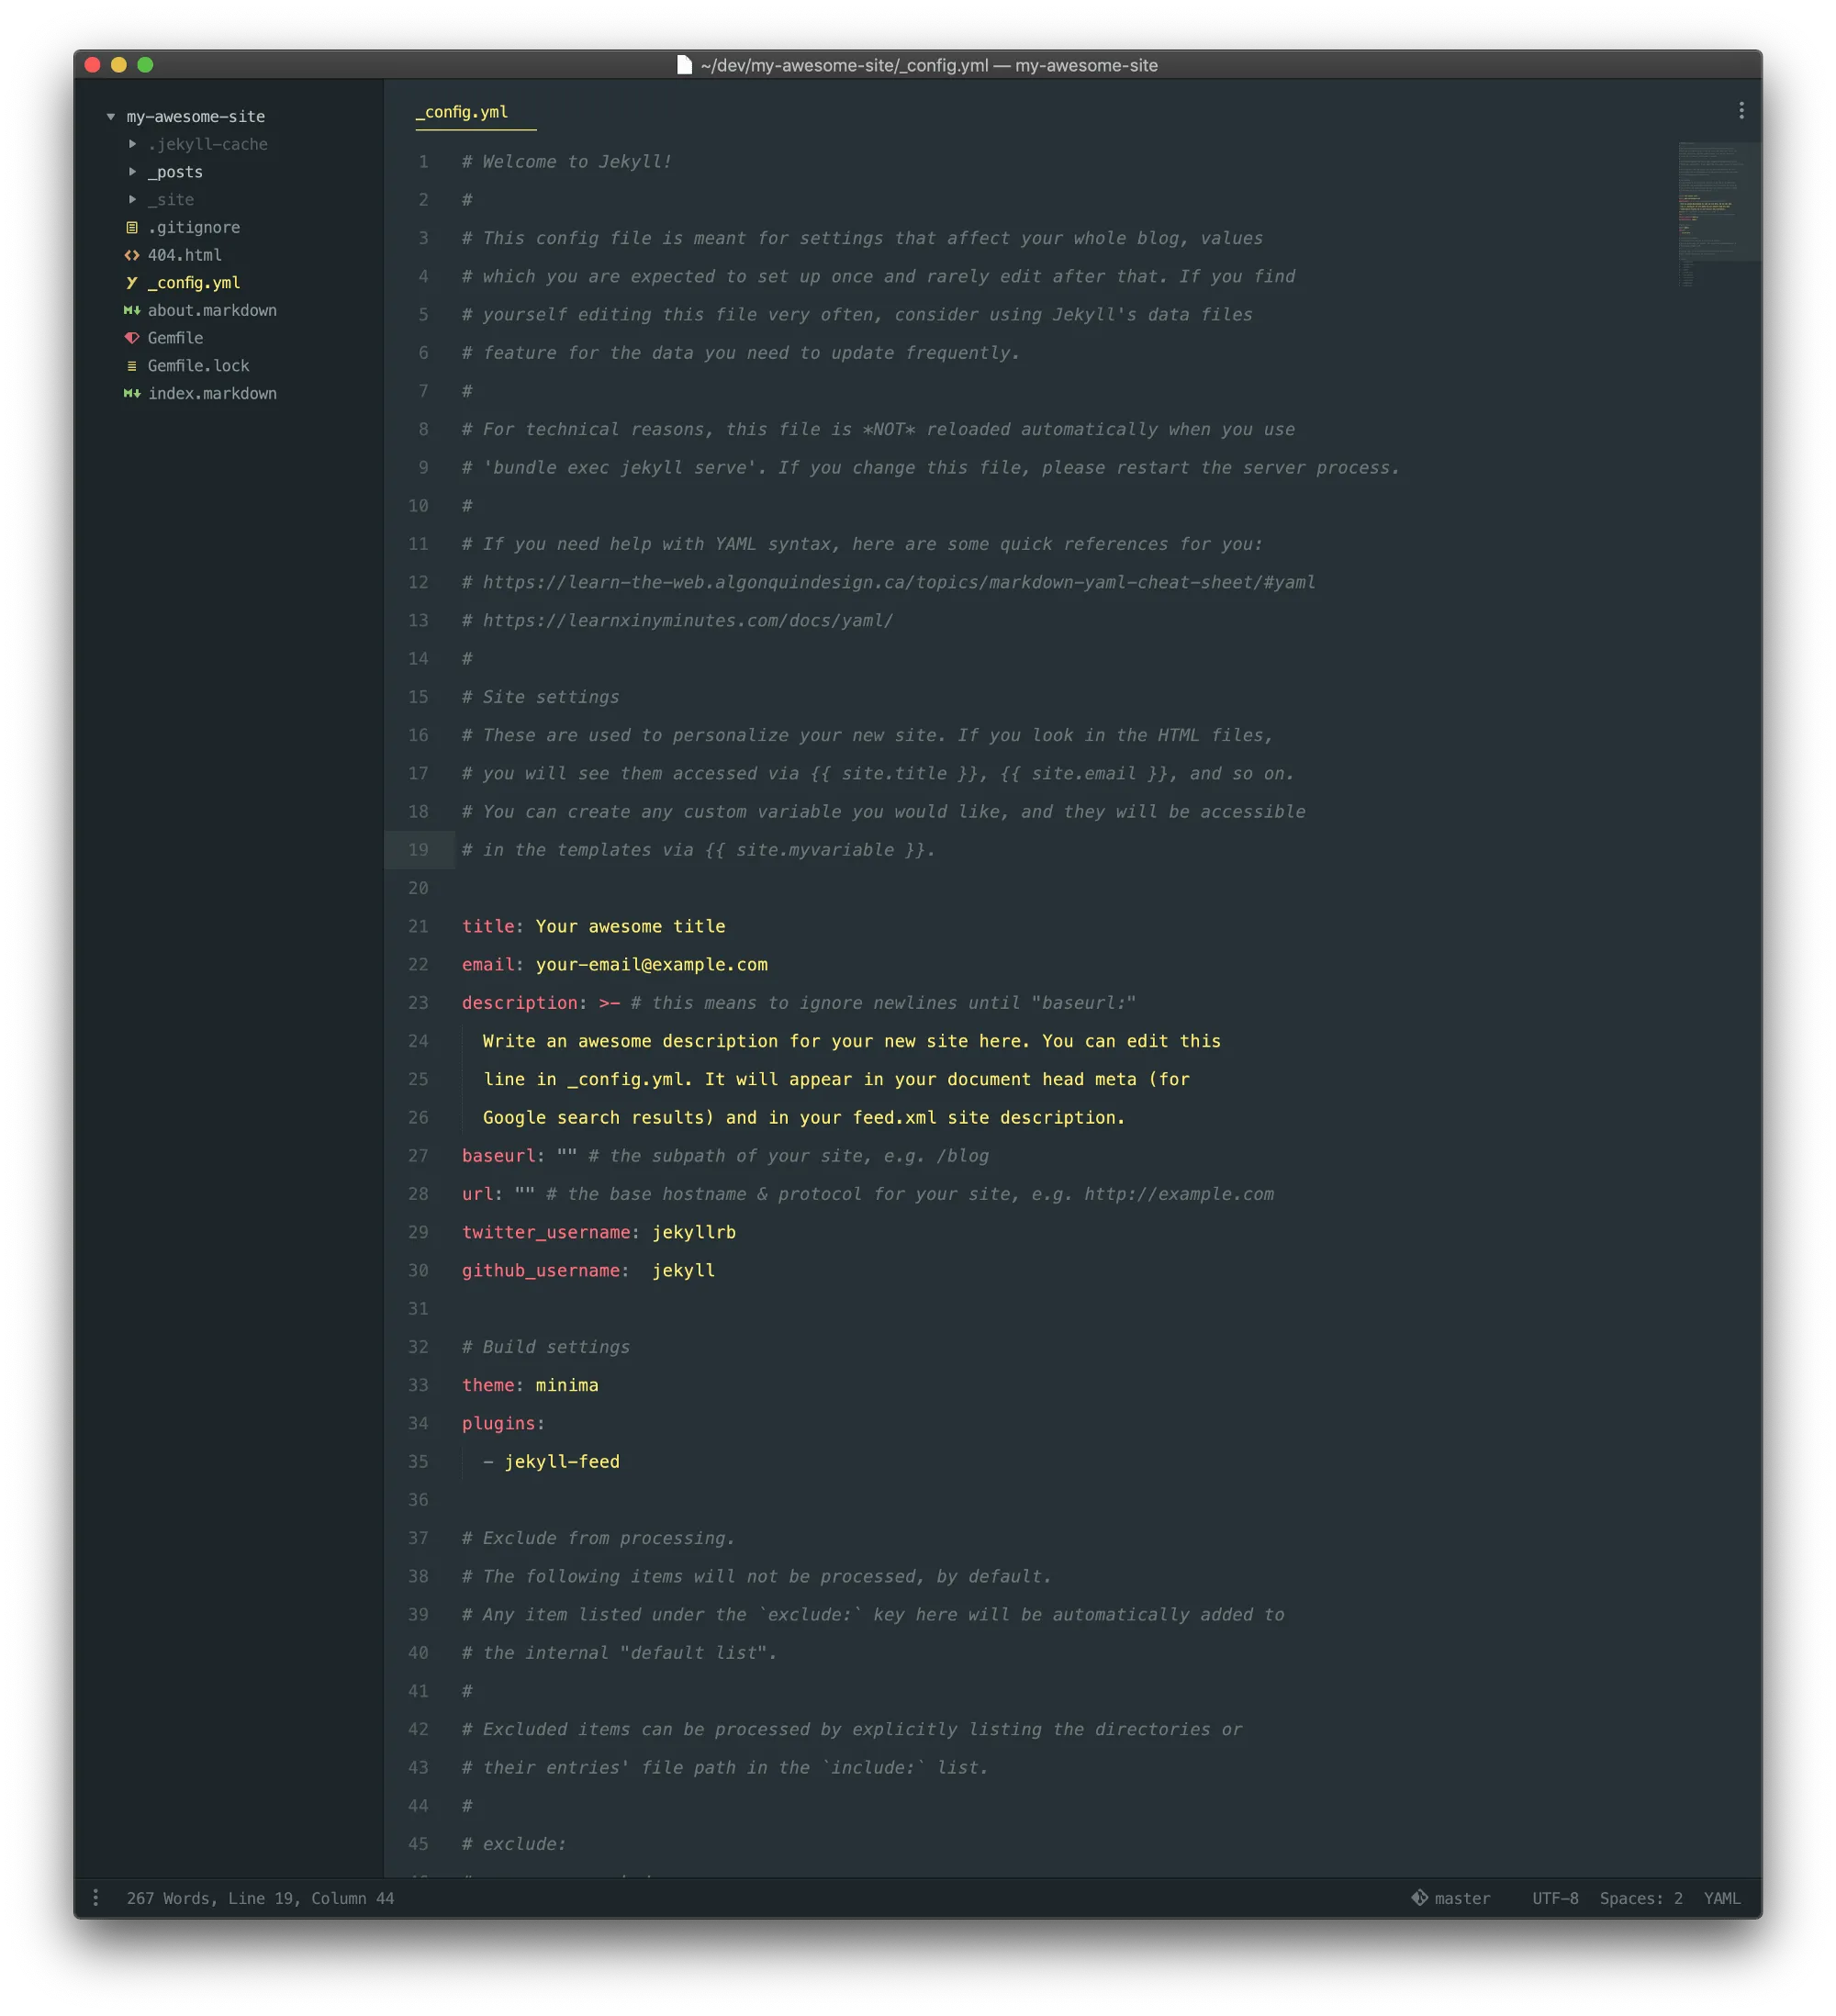
Open up your config file in your favorite text editor.
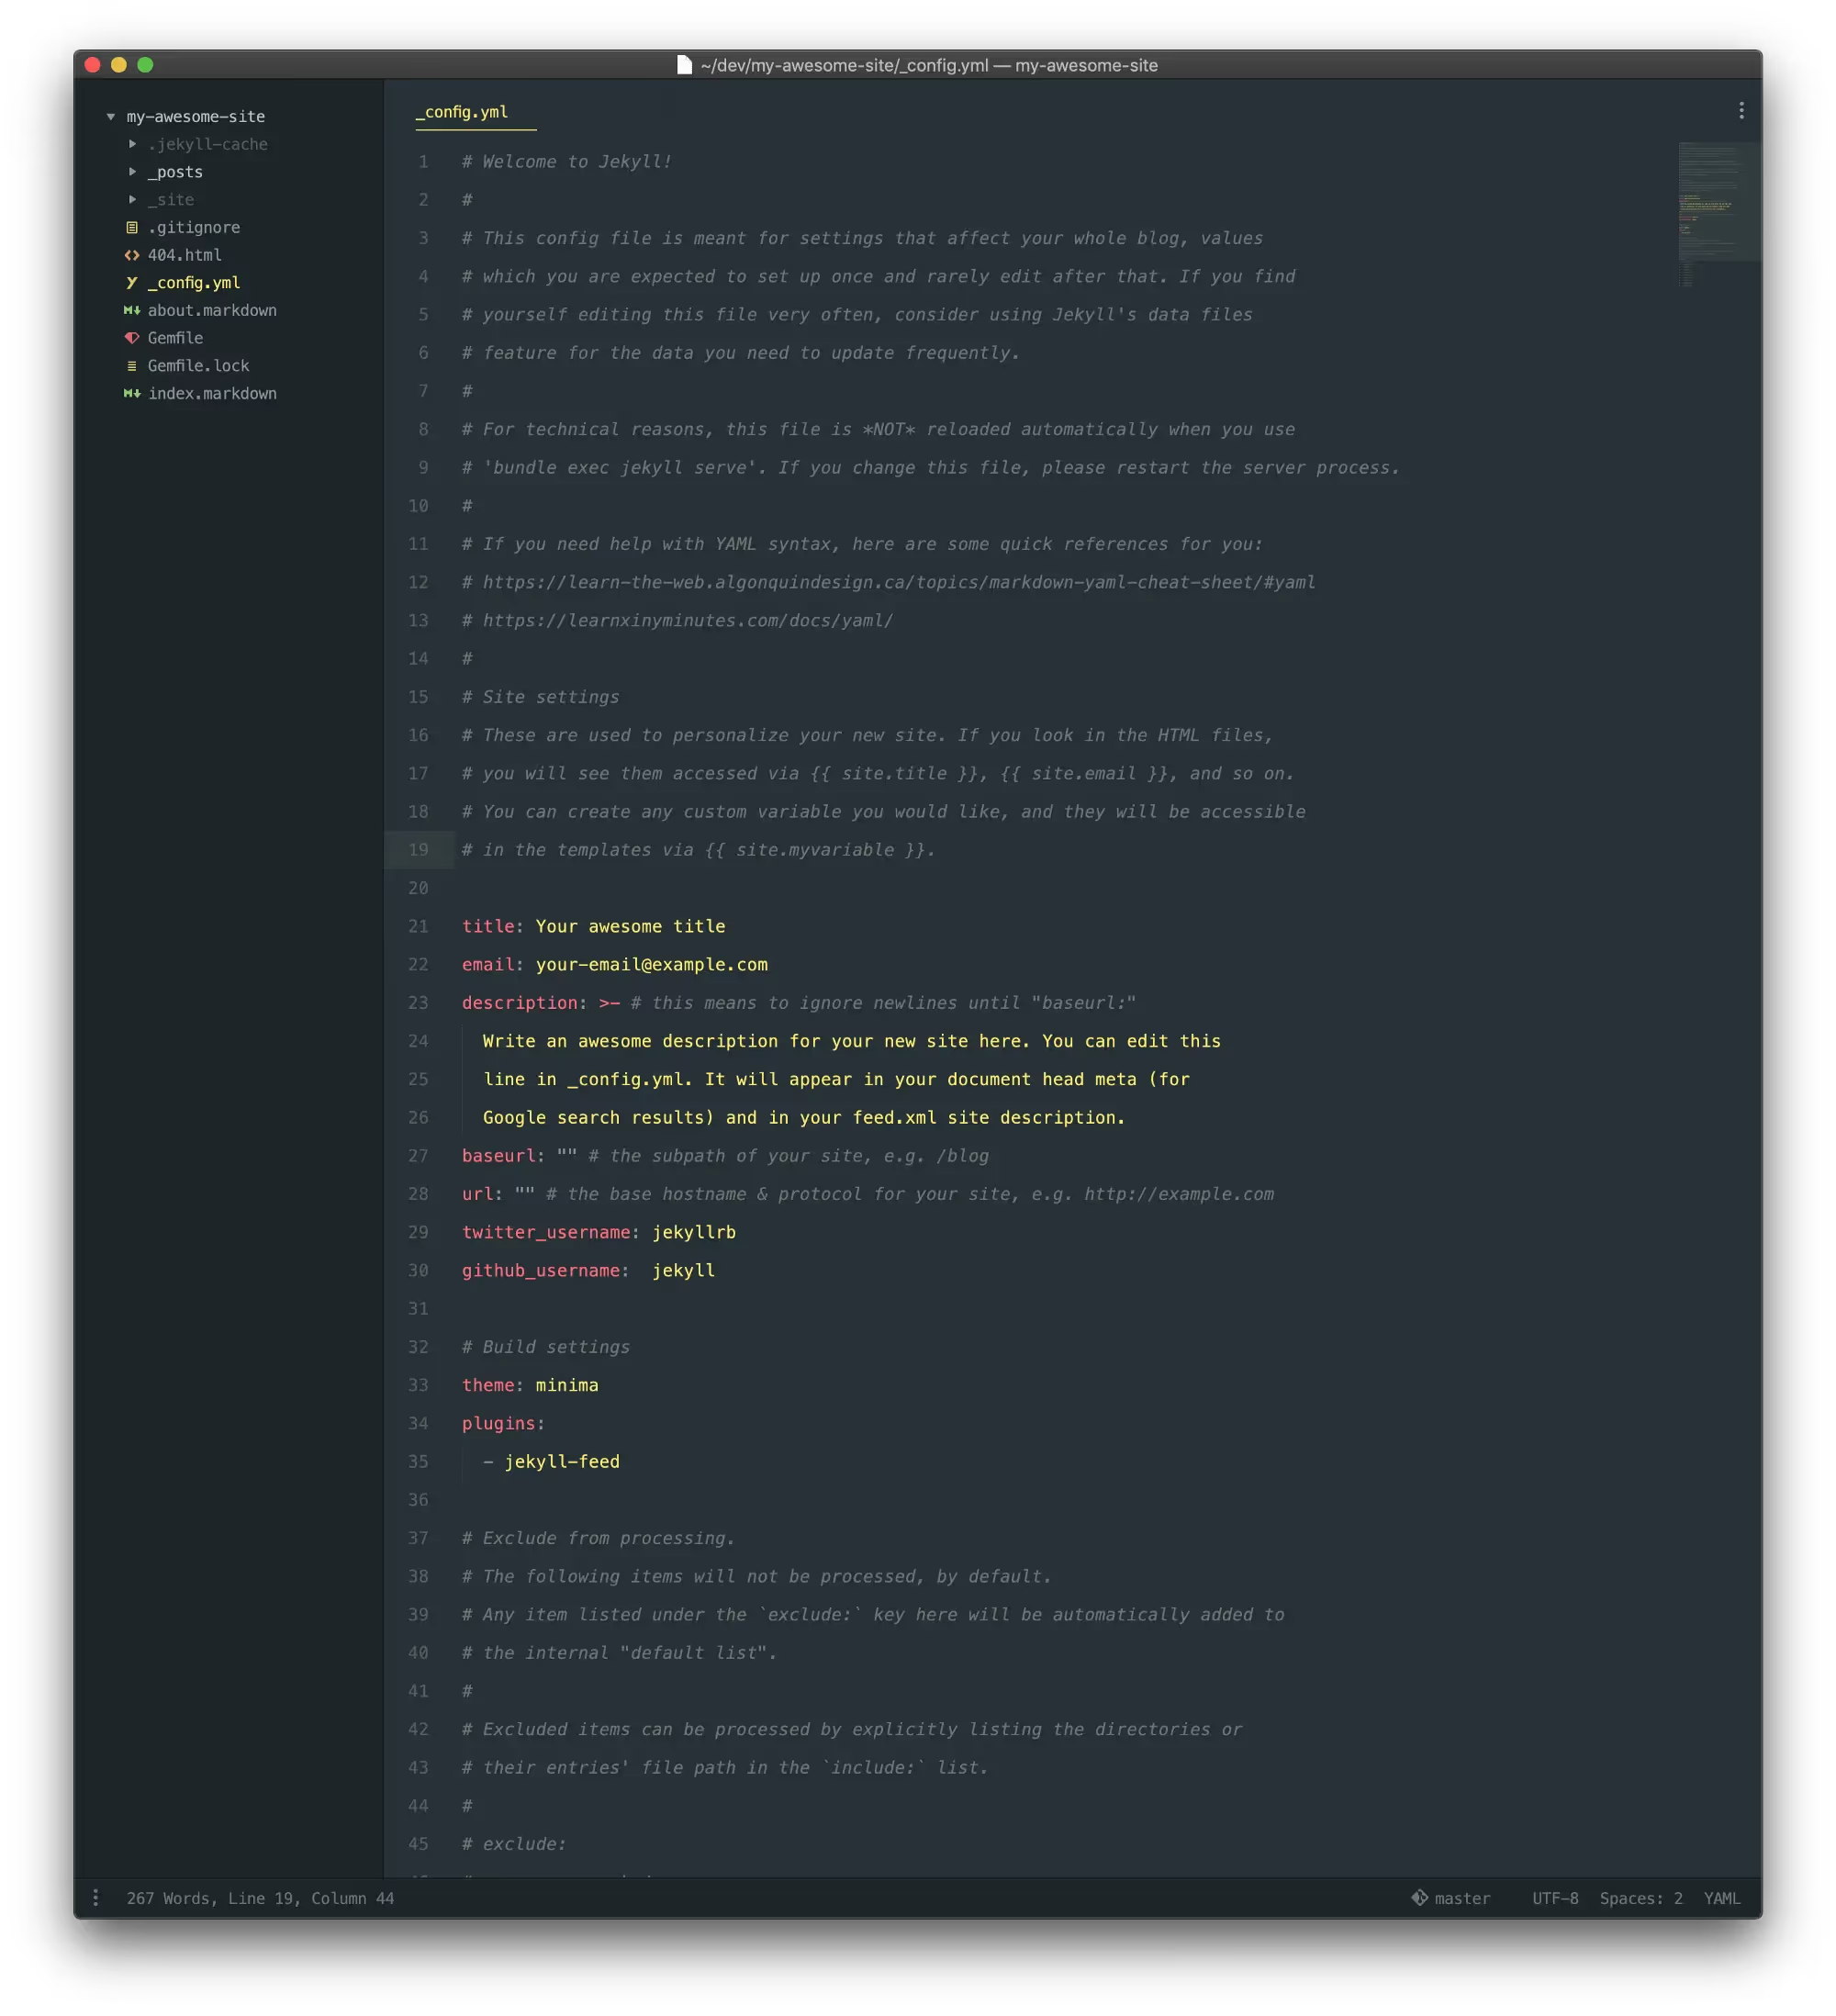
All the comments in here are really helpful and I encourage you to read them. Essentially, this is a .yml file that configures lots of the values of your site. YML is great. It is similar to JSON in that you are free to structure it however you want. You can freely add key/value pairs, nest values, work with collections, and lots of other stuff.
For now we’re just interested in changing our baseurl value. For me it was on line 27. Update that line look like this:
baseurl: "/my-awesome-site"
Save the file.
Remember how I said Jekyll watches your files for changes, but the _config.yml file is special? This is due to the inner workings of Jekyll. If you want any changes in this file to propagate, you have to kill the the “bundle exec jekyll serve” window and run that command again. The simplest way to do this is to open that window and type Ctrl+C . This cancels the process. Then just press the “up” arrow on your keyboard. The macOS Terminal remembers your previous commands. By pressing the “up” and “down” arrows you can cycle through your commands.
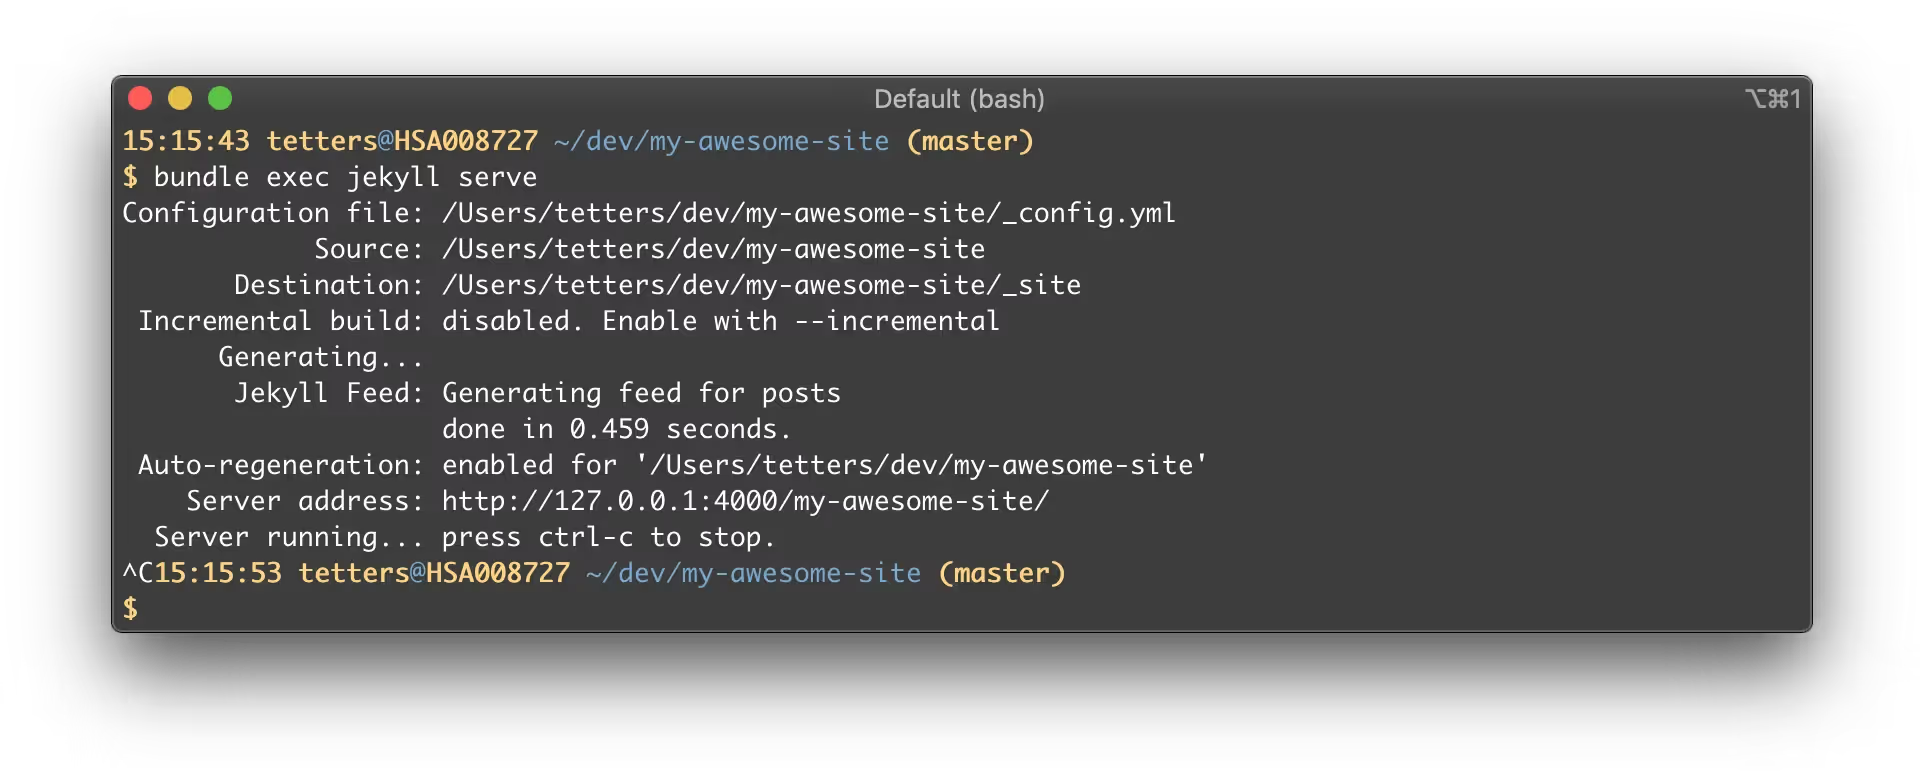
Press “Ctrl+C”; do you see that little ^C at the second to the last line? That means it worked…
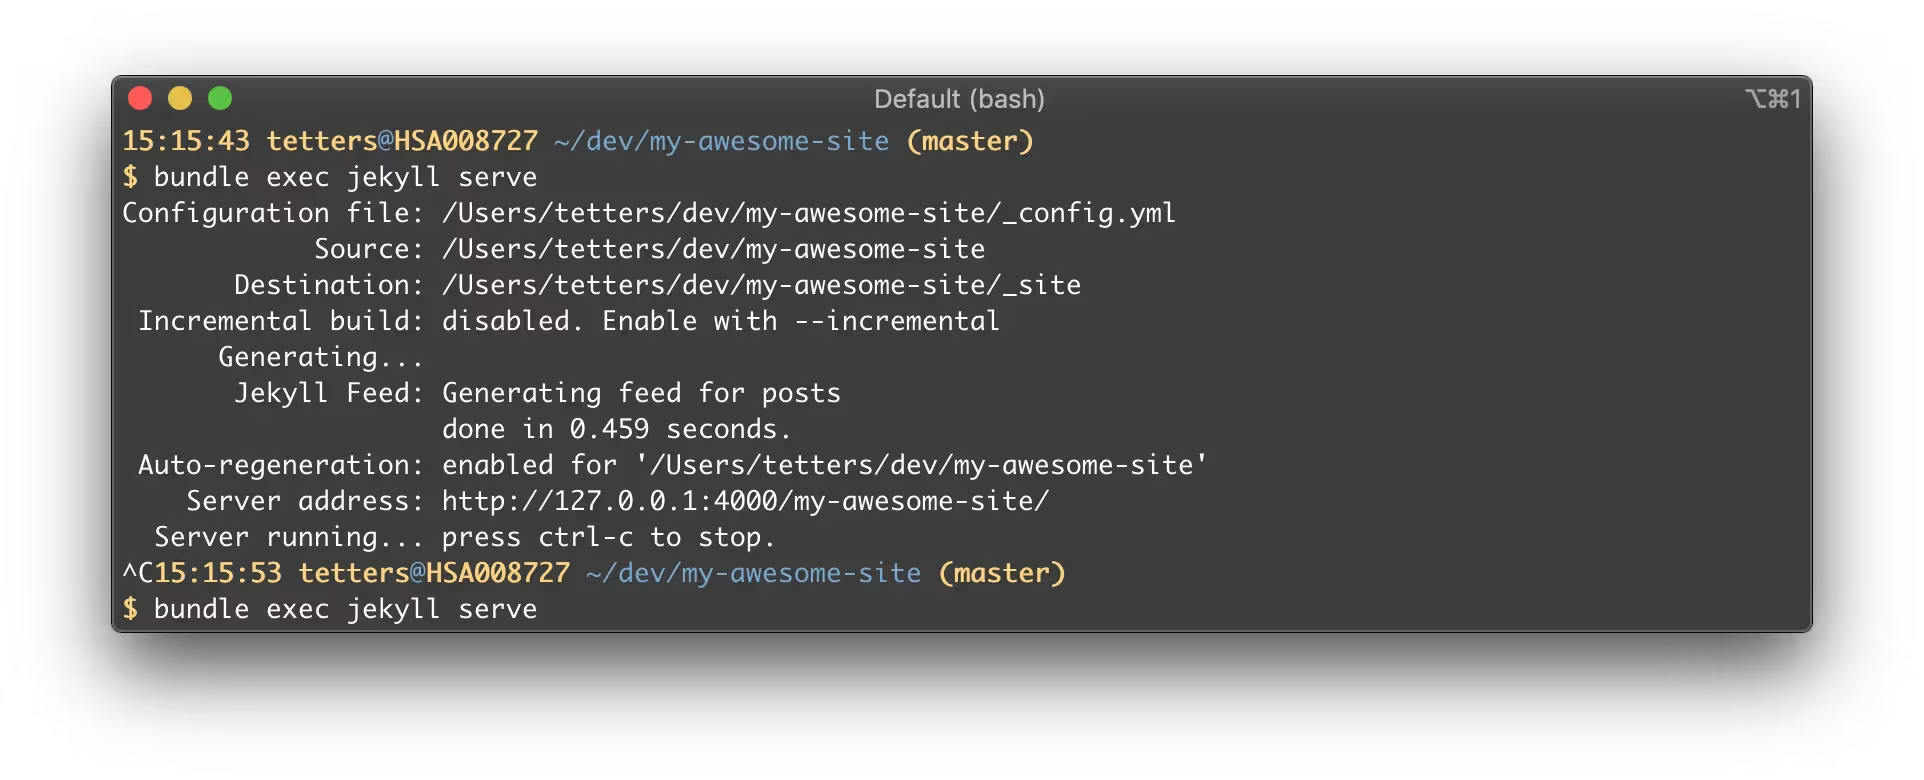
… press the up arrow to recall your last command…
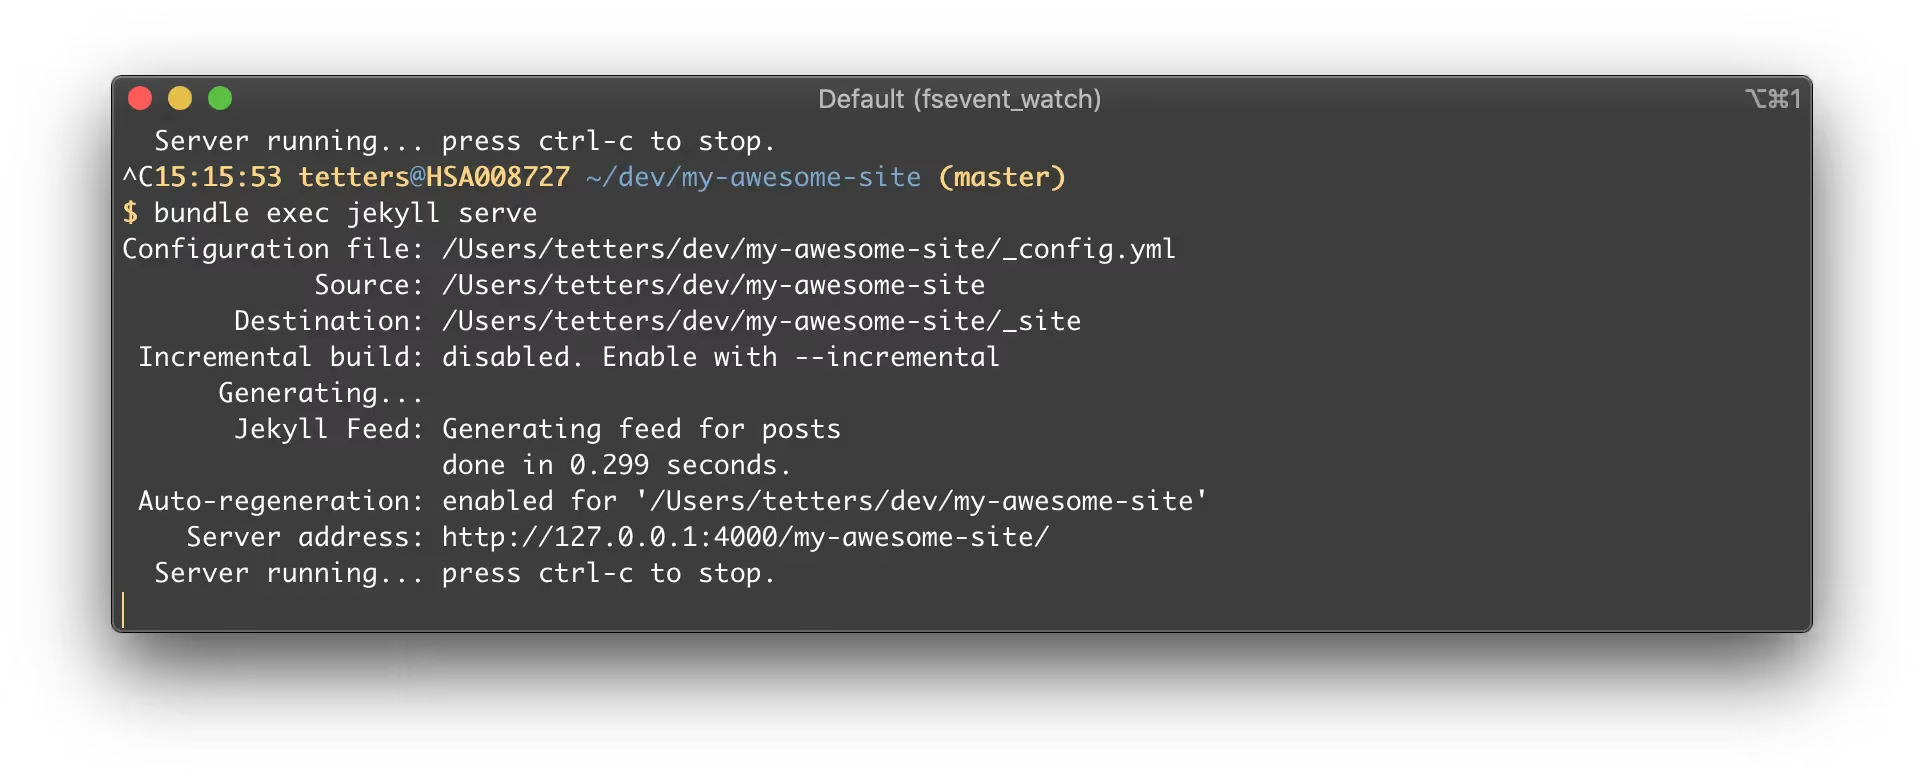
… then press return to execute the command again.
See how the Server address is updated to include the /my-awesome-site string? Go ahead and visit http://127.0.0.1:4000/my-awesome-site. Your site is now being served from this URL.
Commit the change in the GitHub desktop client, push, wait a few seconds, and refresh the public site.
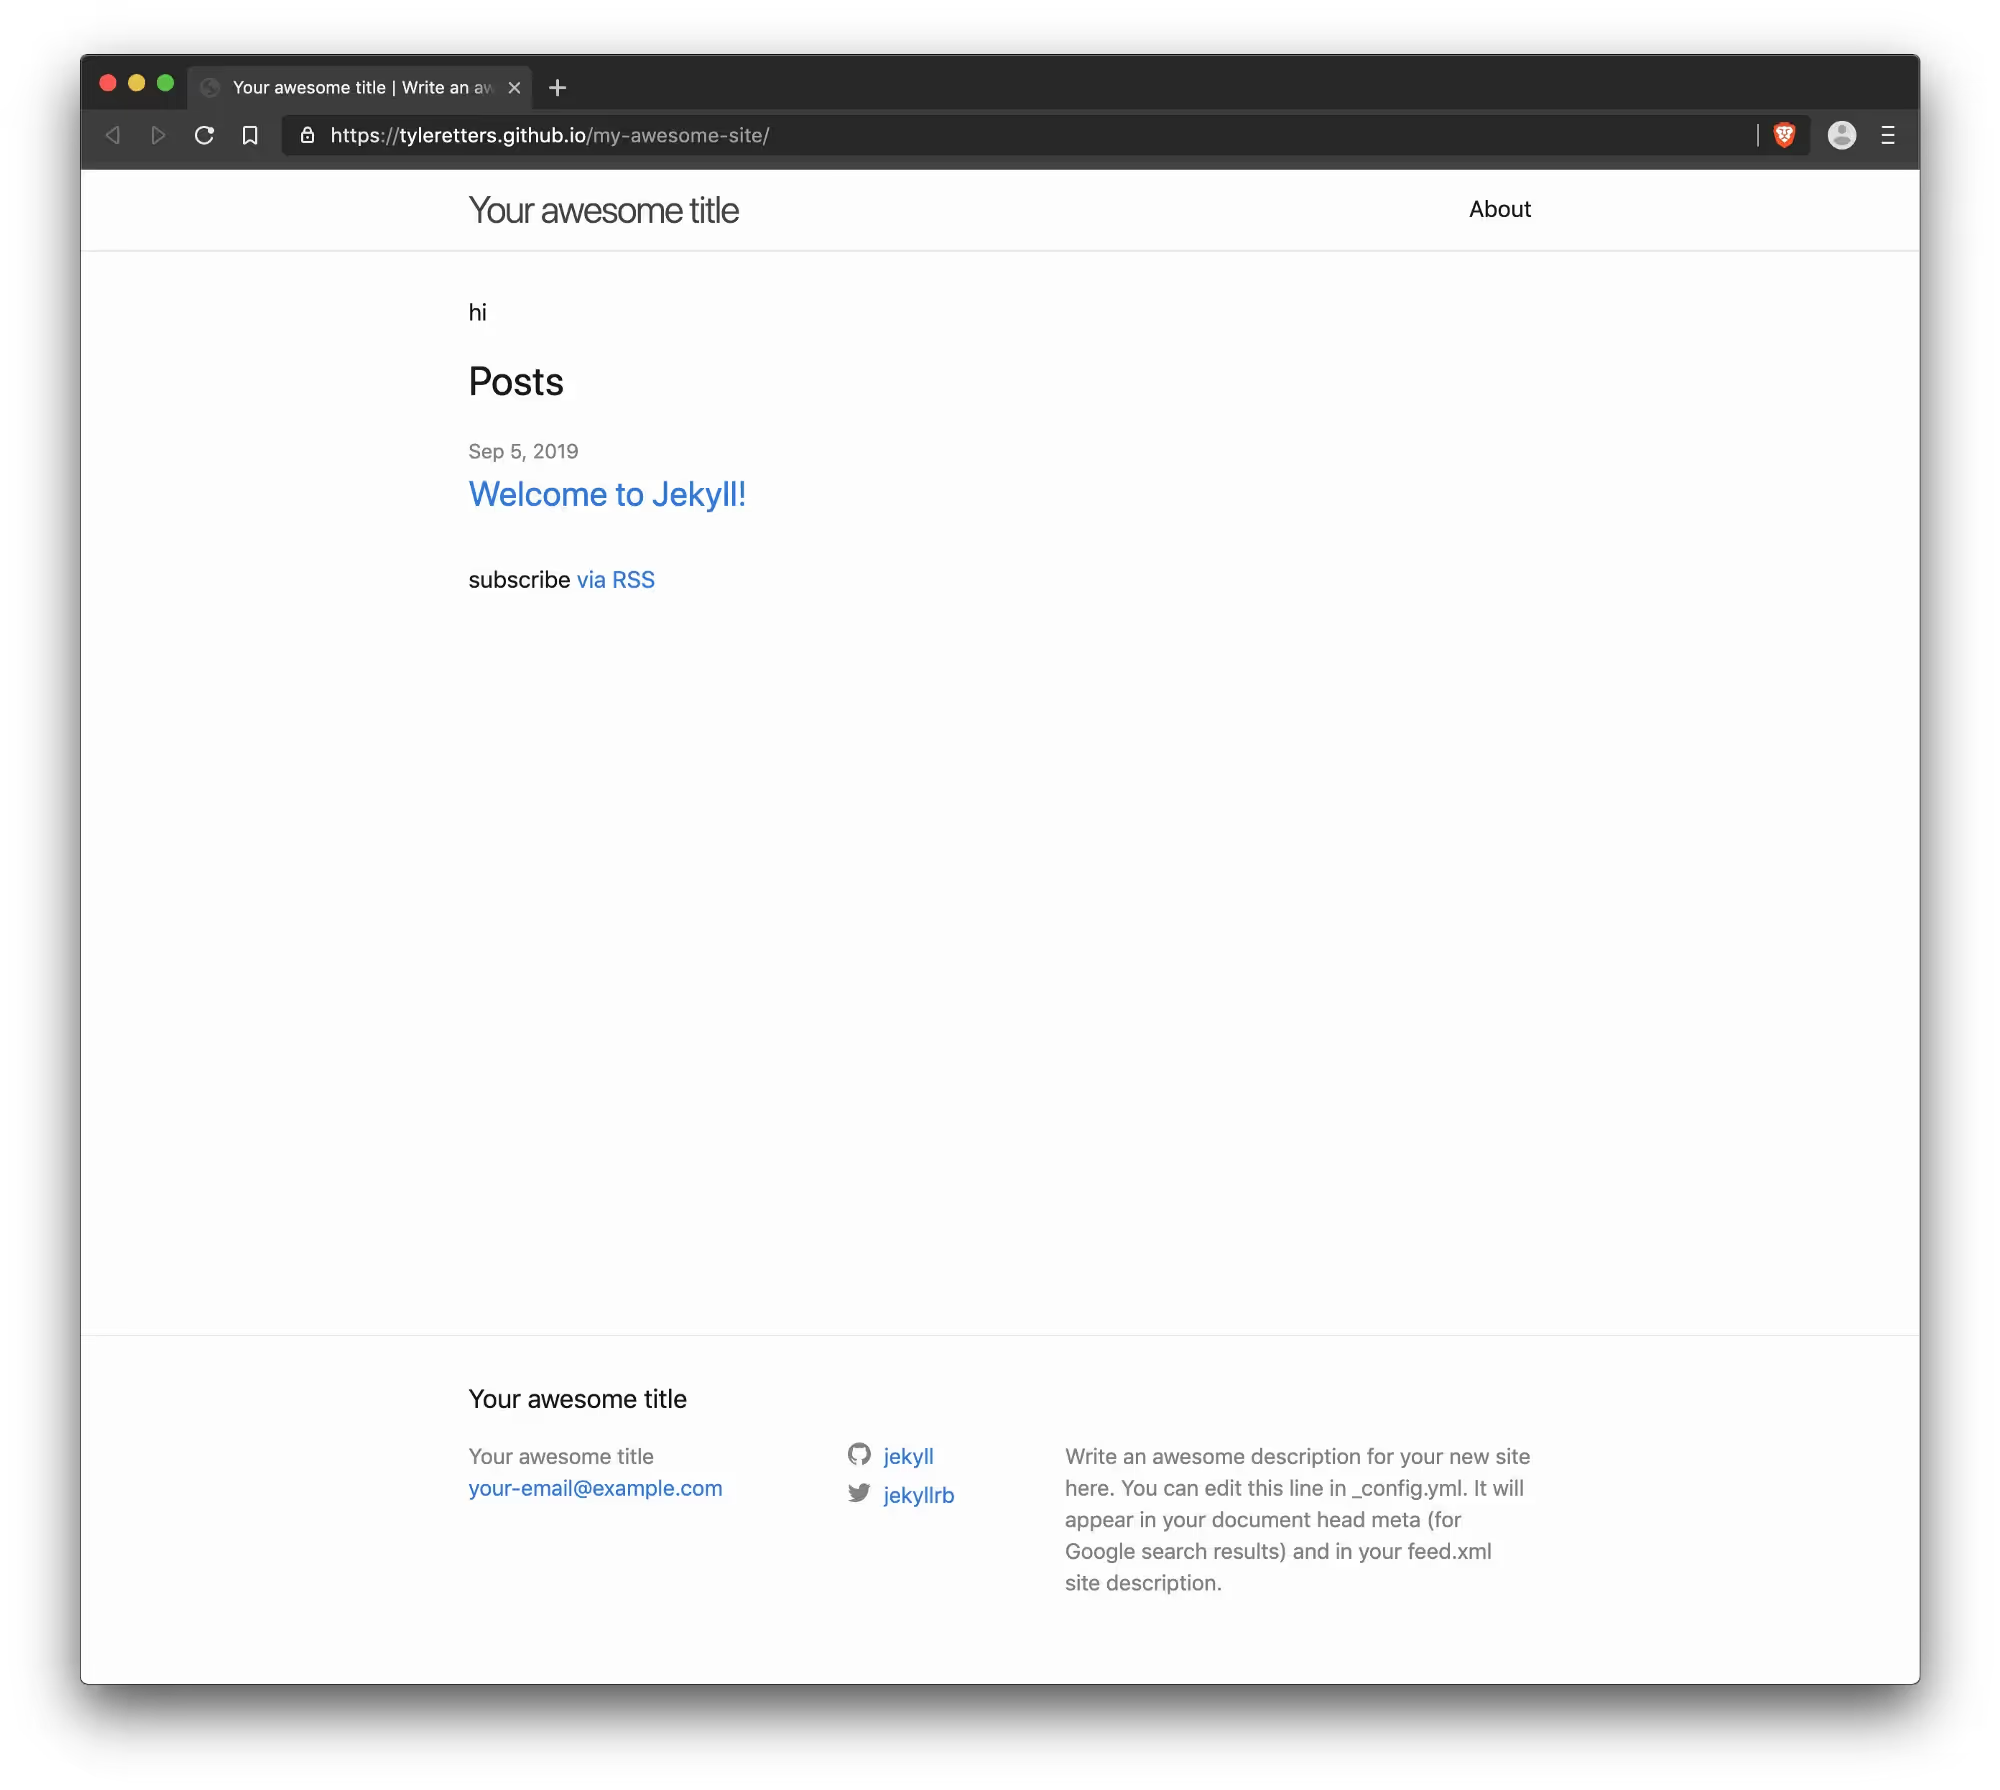
Viola! The CSS works now!
8. Advanced Tips (Optional)
Quickly Start Working
I created an alias for my .bash_profile to quickly boot up Jekyll, open my browser, and open my code editor. With this alias, all I need to remember is quick.
alias quick='cd ~/dev/my-awesome-site && code . && open http://127.0.0.1:4000/my-awesome-site && bundle exec jekyll serve --drafts'
code is yet another alias for my code editor du jour (presently Sublime). This keeps my editor loosely coupled from my alias.
Quickly Fire up SASS
I adore developing with SASS. After I setup SASS on my site I created this alias to quickly start the watcher:
alias quicksass='cd ~/dev/my-awesome-site/assets && sass --watch style.sass:style.css
Quickly Deploy to Production
I created this alias to simply commit and push everything to master:
alias quickdeploy='cd ~/dev/my-awesome-site && git add . && git commit -m "++" && git push origin master'
Wrap Up
If you made it this far, awesome work. The learning curve is steep, the details are unforgiving, and the sequence of steps are often non-intuitive. If you’re stuck with anything reach out and I’ll do my best to help.
From here you’re all set to start adding pages, blogging, installing new themes, or overriding theme defaults.
I love Jekyll and will continue to use it for any simple blog or marketing site. I hope you enjoy it too!
